Welcome!
About:
This site was created to track the progress on some of my Virutal and Real Pinball projects. This site was also set up as a way to easily share assets with the vpin community.
Projects:
Project overviews and links to assets are provided in the cards below. If there are any issues with downloading or if an "un-tagged" version (without the "ebislit" stamp) is requested, feel free to reach out and I'm happy to help.
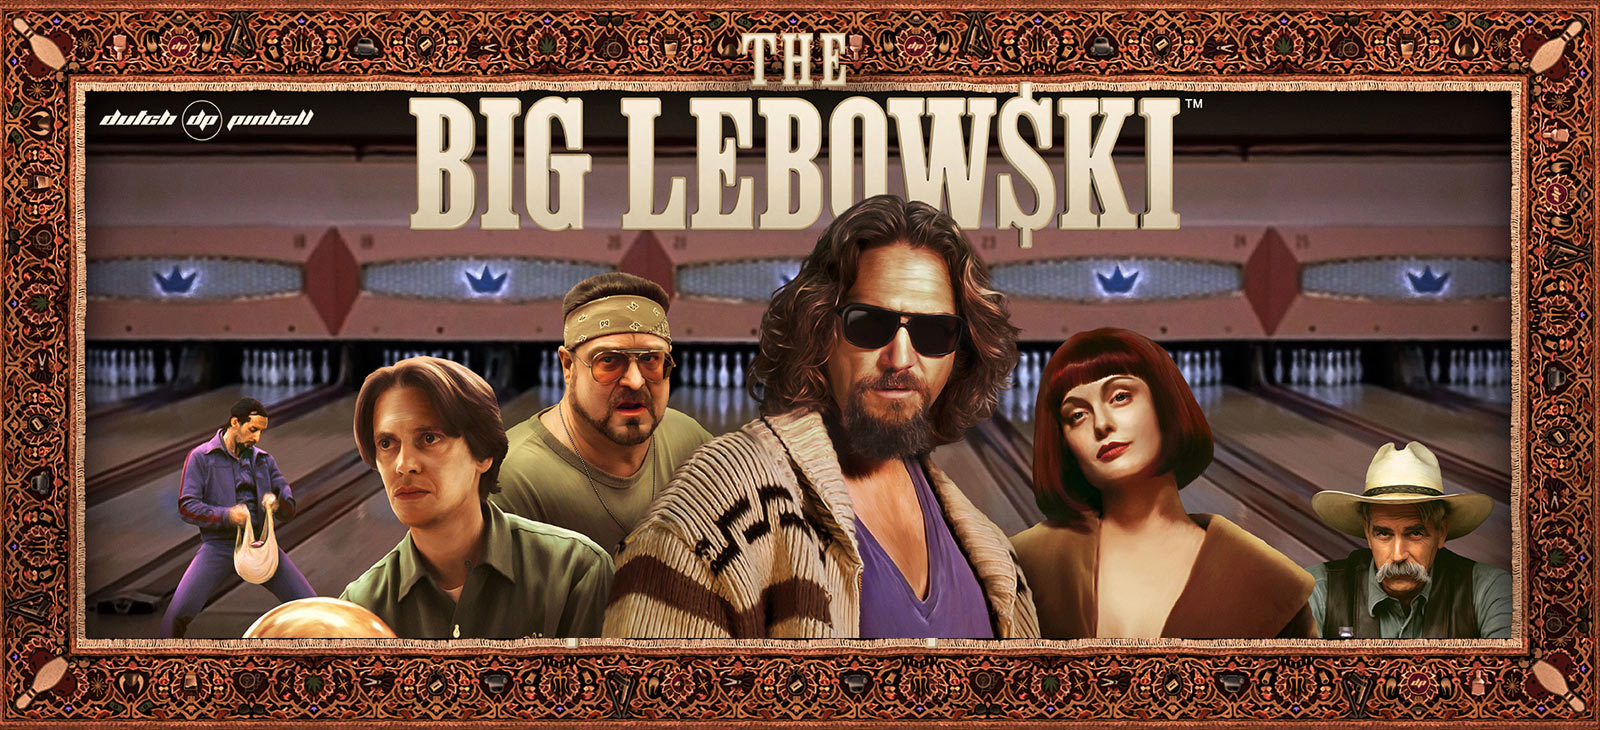
- A 9 hour roadtrip got me to an amazing pinball shop in Ohio and the chance to not only play some epic games (including lebowksi), but also the chance to scan this spare playfield. Getting assets for this table has been a long term goal since starting in the VPin hobby and I'm happy to finally be sharing them. I also have scans of the backglass and plastics on their way soon.
- I don't have any plans of working on a table or mod anytime soon, but I am hopeful these assets are of use to any authors currently working on or starting their own projects.
2 hours (+9?)
Plastics & Backglass coming soon
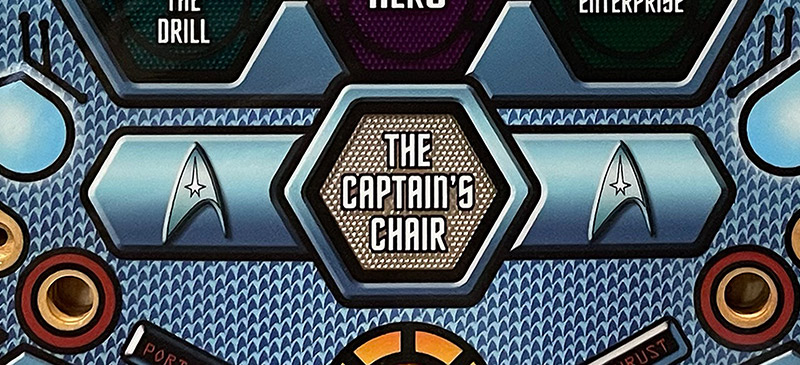
- This one took a decent amount of time to find assets that could actually be used. Multiple orphaned attempts had me thinking I may need to take this one off the wishlist, but some really nice quality photos were found and I'm happy to finally complete this one
5 hours
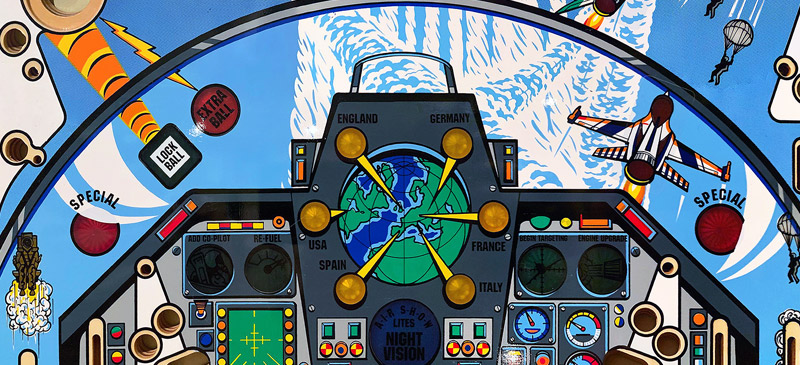
- I've always thought this was such a beautiful playfield and a really great themed machine. The assets were a bit tricky to work with and I would classify this as a "low fidelity" stitch, but I still think the quality is better than anything else I could find and it will hopefully still be useful for any projects.
3 hours
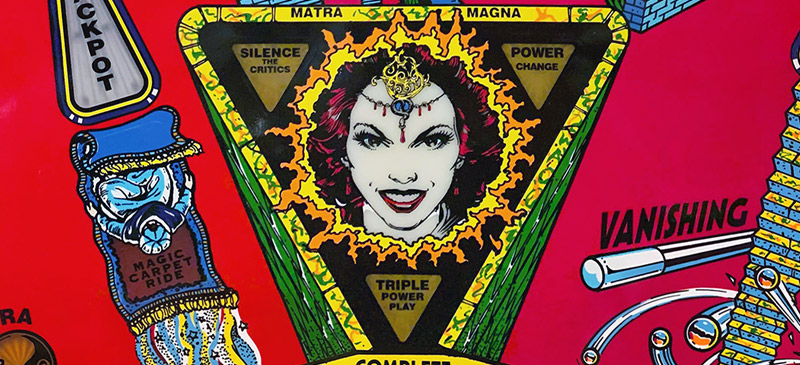
- The assets for this one were a bit tricky to work with and I would classify this as a "low fidelity" stitch, but I still think the quality is decent enough to still be useful for any projects.
2 hours
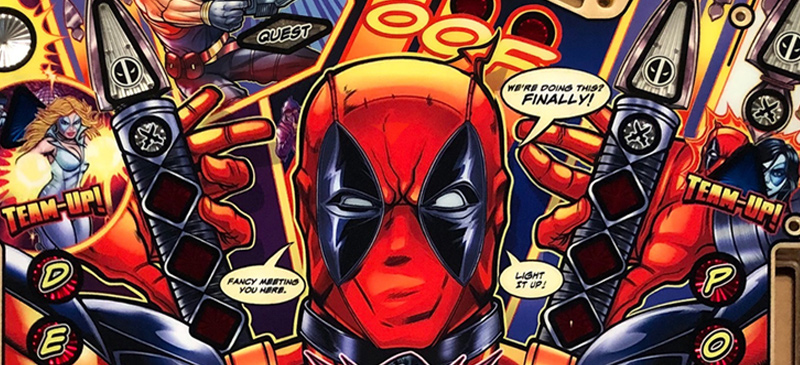
- After 3 attempts at photostitching, I was finally able to find a rejected playfield and decided to pick up a full set of plastics so that the community would have the highest possible quality assets to work from
- I don't have any plans of working on a table or mod very soon, but I am hopeful these are of use to any authors currently working on their own deadpool projects.
6 hours
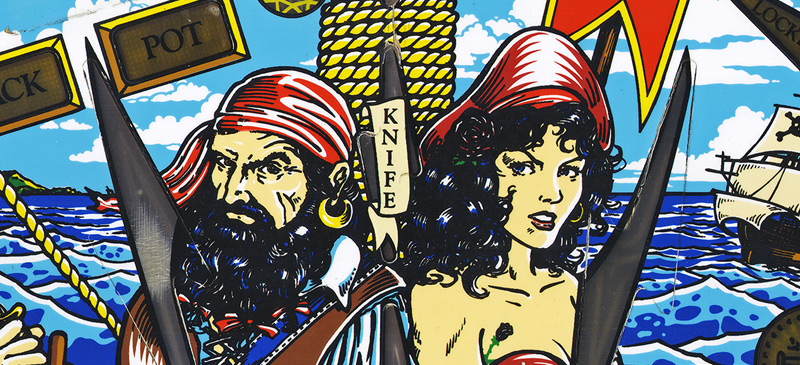
- Acquired and scanned a Black Rose playfield.
- Collaborating with the awesome table authors over at Virtual Pinball Workshop (VPW) to see what we can put together with the new assets
- Sharing the playfield even though there is one in-progress, just in case others have their own projects that this could benefit from
2 hours
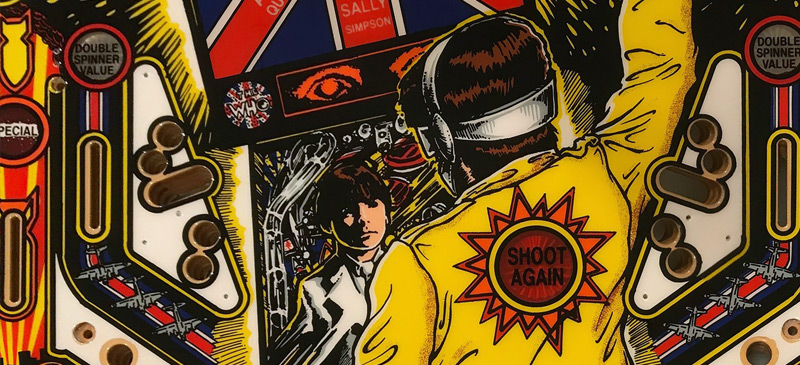
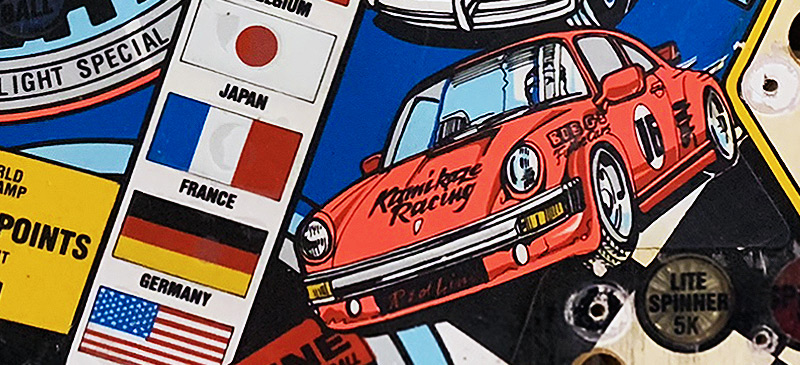
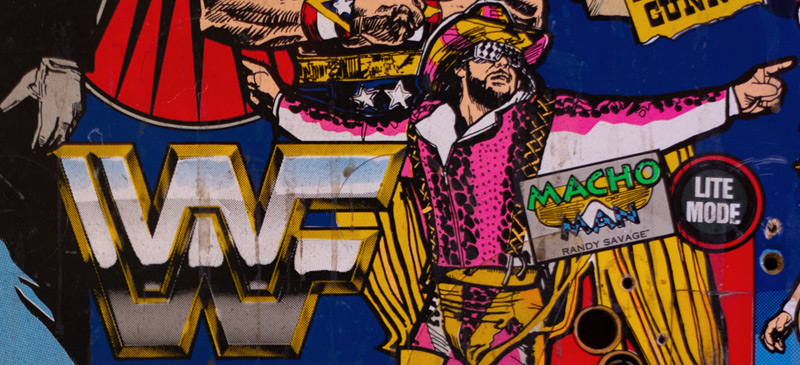
- Playfield Photo Stitch
Many thanks to Workerboy for sharing these assets (and thanks Sheltemke for the assist on this one!). The playfield has quite a bit of wear and tear. This could benefit from a digital cleanup and redraw, but also has a certain "well-played" charm even as it currently is. The colors need tuned a bit, but alignment and sizing should be close to the real playfield.
2 hours
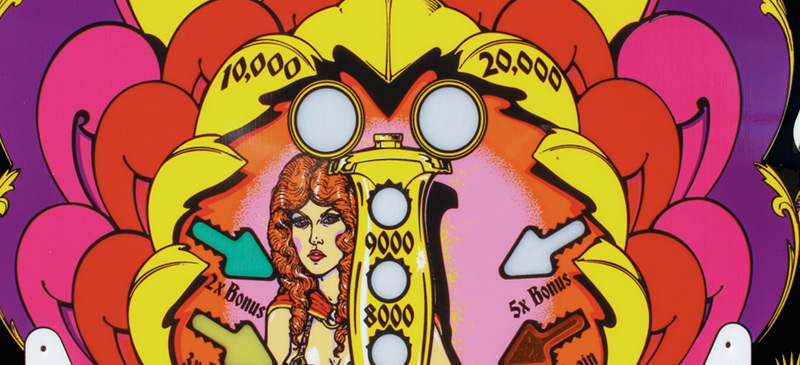
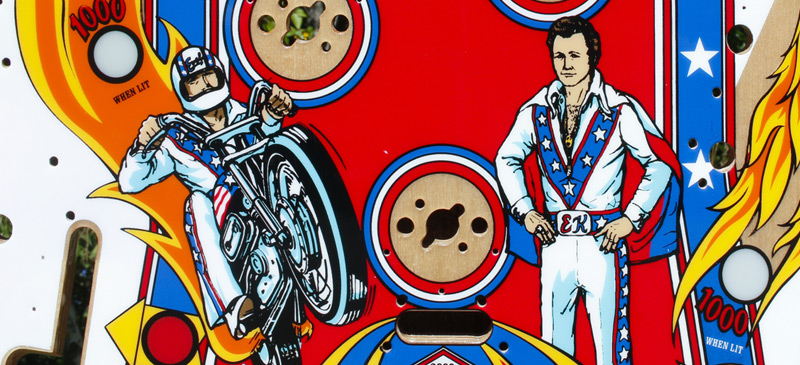
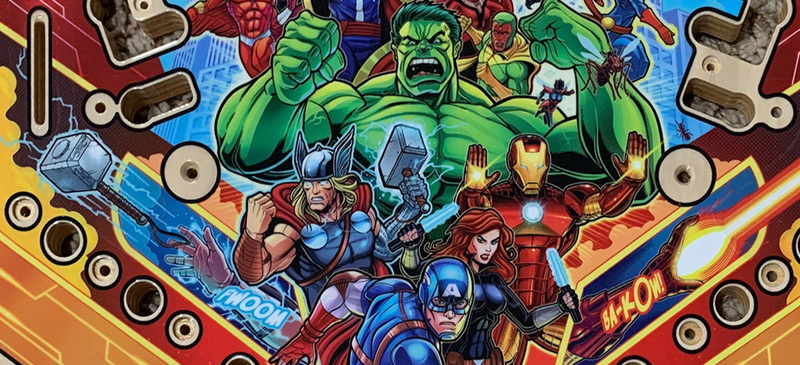
- LoFi Photo Stitch
Low-Fidelity Stitch from various sets of source assets. Possible candidate as a working-playfield on open projects until a higher resolution version becomes available
2 hours

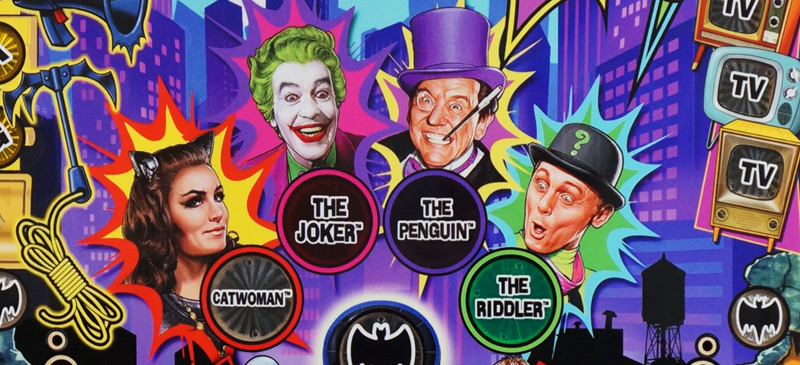
- After 3 attempts, a set of nice Batman 66 Playfield assets were found and are being used for a current / upcoming project.
- Very happy that this was of use as an early asset to the amazing masterpiece done by Daphishbowl, MrH, MPT3k & Harlan: Batman 66 Stern Tribute Table
7 hours
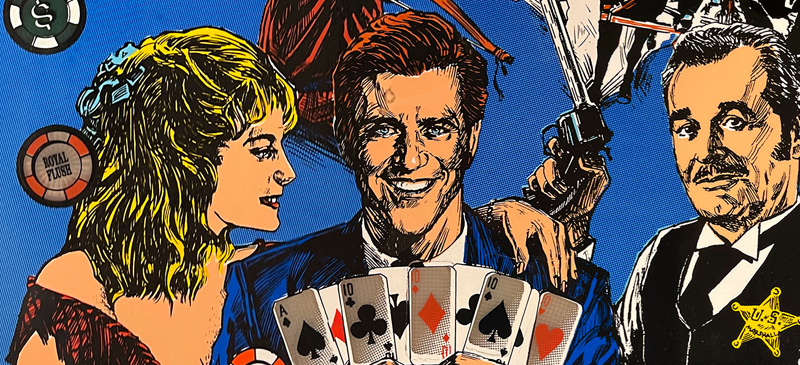
- Initial Photo Stitch for what would be used in Antisect's incredible build (which ultimately got finishing touches and deployed by the Vpin Workshop)
- The source images were really high quality, but there were a number of mechs still on the pf. After a couple of failed attempts at stitching, the best results came from doing 2 separate photo stitches utilizing different assets, overlaying them and picking out the least populated sections, then fine-tuning any regions.
5 hours
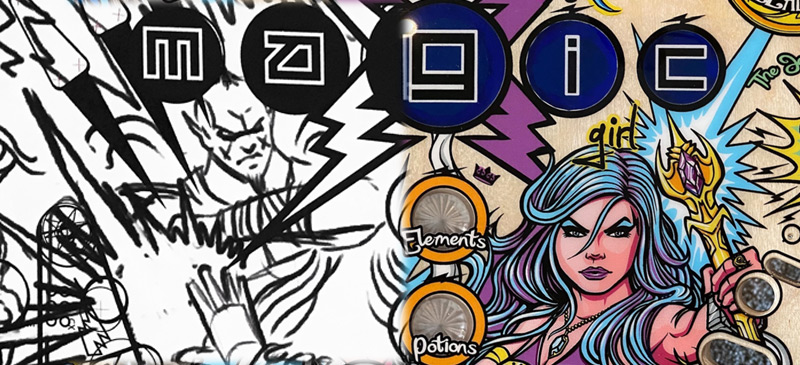
- Playfield Photo-Stitch
This one took quite a while to find decent assets. This was always at the top of my list, so I made a lot of attempts with lower resoltuion images, but those never resulted in anything worth sharing. I ultimately got the best pics from someone on pinside who was selling one of the early versions of a pf. There were plans of getting higher res photos and it sounded like it might work out, but unfortunately the playfield got sold before the seller could snap some super high res pictures. The ones used in the pinside ad were still by far the best resolution available, so this latest stitch starts from there. The relevant sections still missing were the rabbits on the right and a decent sized triangle in the center section of the playfield.
A few months later, I stumbled across a post from someone who owns some of the original layouts and rough design sketches. They agreed to share some high res photos and that ended up being just what was needed to finish up the photo stitch. Ultimately, I would still like a much cleaner stitch for the missing sections, but figured this version can at least act as an early project playfield or even a final option considering how much of the "lower res" sections are covered by playfield objects anyhow.
7 hours
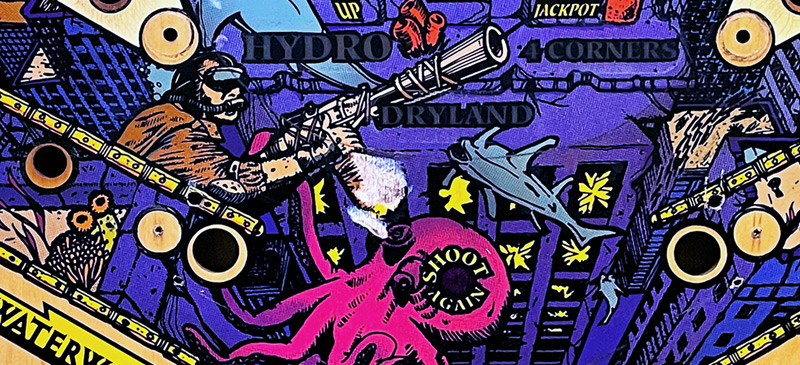
- Playfield Photo-Stitch
Dry land is not a myth!
2 hours
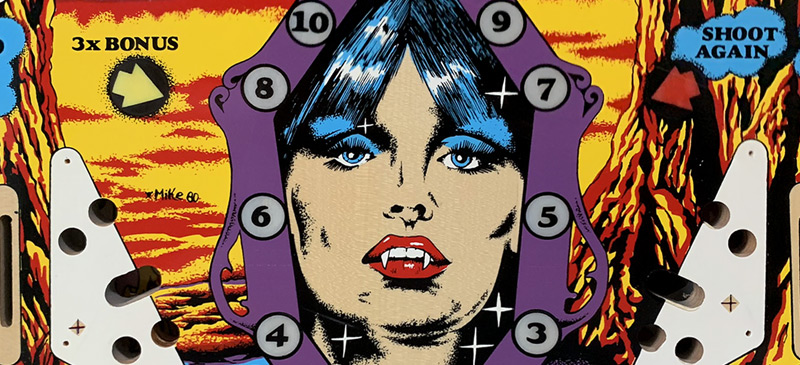
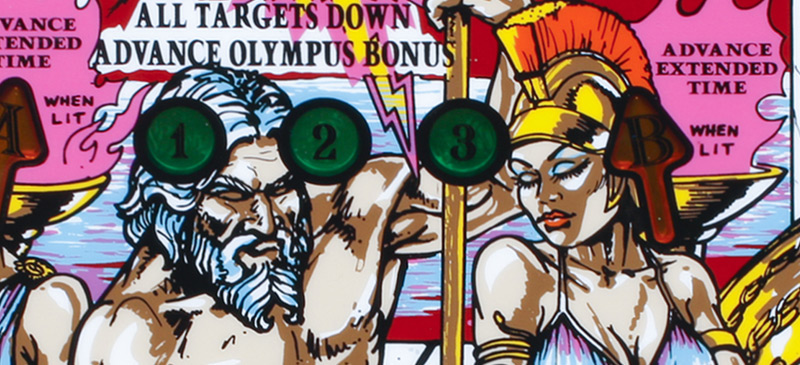
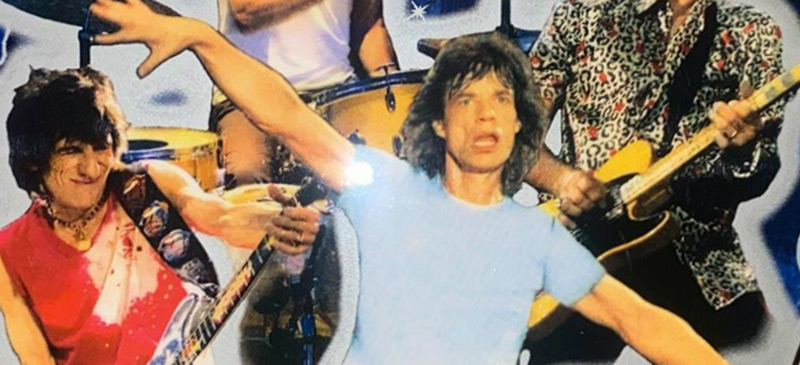
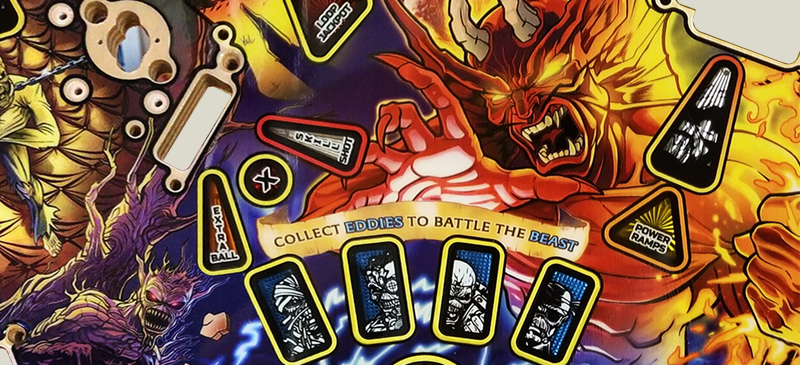
- Playfield quick-stitch from photos found on Pinside & facebook
- This isn't meant as a final playfield, just a rough stitch to provide a higher-res reference for anyone working on Iron Maiden projects until a proper one surfaces
- Second attempt with different assets (similar quality, slightly improved imho, but I'll leave both in the downloads section
3 hours
Playfield Image | PSD & Source Assets
ORIGINAL ATTEMPT:
Playfield Image | PSD & Source Assets
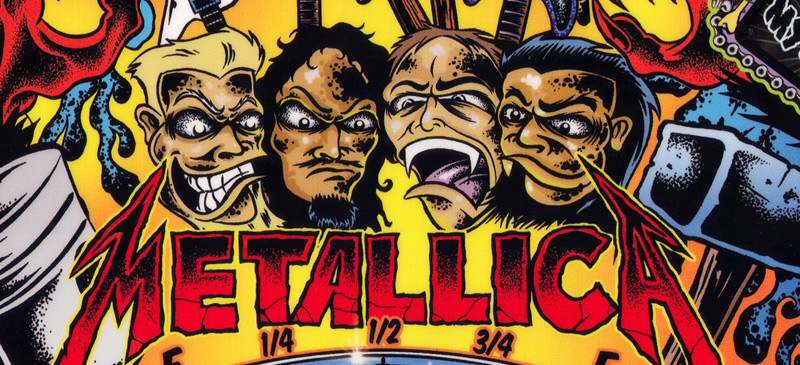
- The LoFi original attempt has been replaced with full res scans. These scans were used in the VPW Metallica mod.
- Various contributions to the Metallica table including early effort on insert cutouts, placement and related scripting
Playfield quick-stitch from photos found on Pinside & facebookThis isn't meant as a final playfield, just a rough stitch to provide a higher-res reference for anyone working on Metallica projects.
8 hours
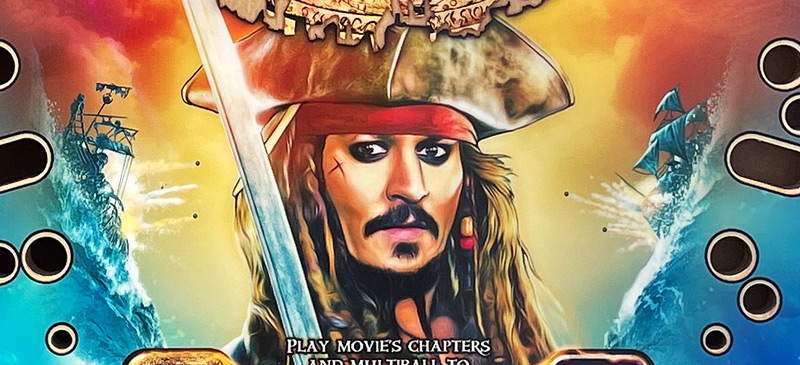
- Playfield Photo-Stitch
I ended up getting 6 different sets of assets from 4 different people over the course of almost a year for this table. Despite repeated attempts, the results always felt unworthy of a release to the public. This latest one feels clean enough to be used as a working or final playfield and I'm happy how it finally turned out.
The playfield was left a bit light and somewhat lower contrast than I would typically have ended at, but this is in part due to the color palatte and the presumed benefits / flexibility allowed by not adjusting this one too much.
5 hours
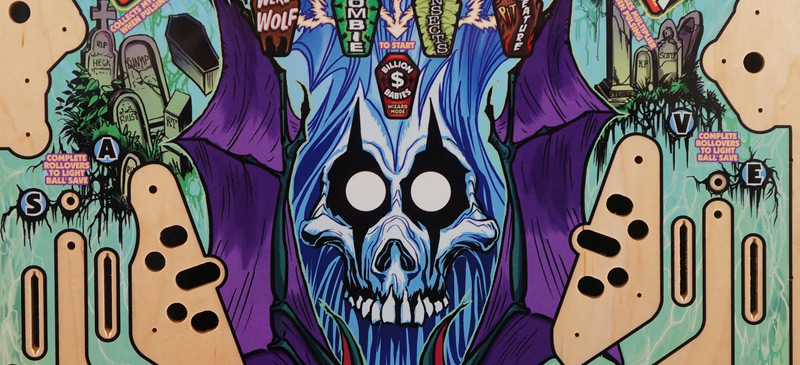
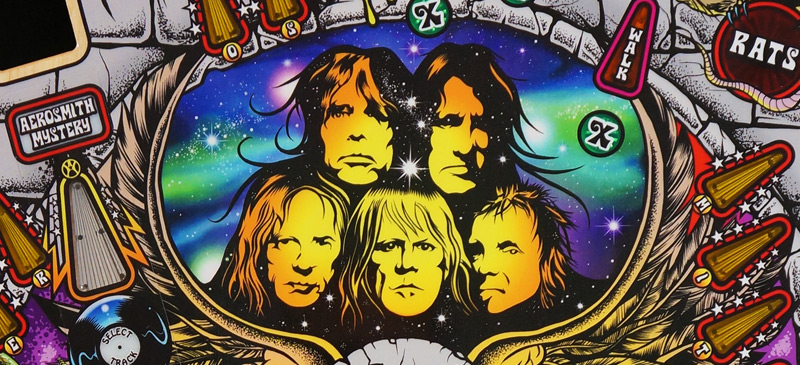
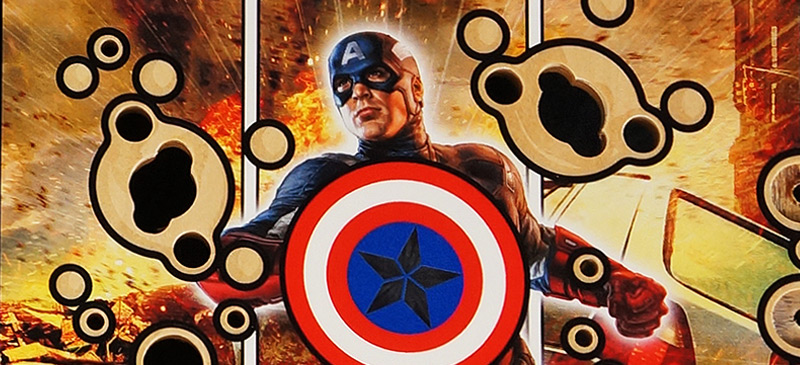
- Playfield Photo-Stitch
A lot of the playfields that use photo-realistic images seem to magnify any issues of quality and are limited in resolution by their original printing process. Tables like Elvis, Avengers or Austin Powers all fall into this category. I believe the source photos for this table are of high quality, but the actual playfield just doesn't scan and port into virtual very well. That said, this one felt as if it turned out as well as it could and may be of a decent enough quality for both working and final projects.
1 hour
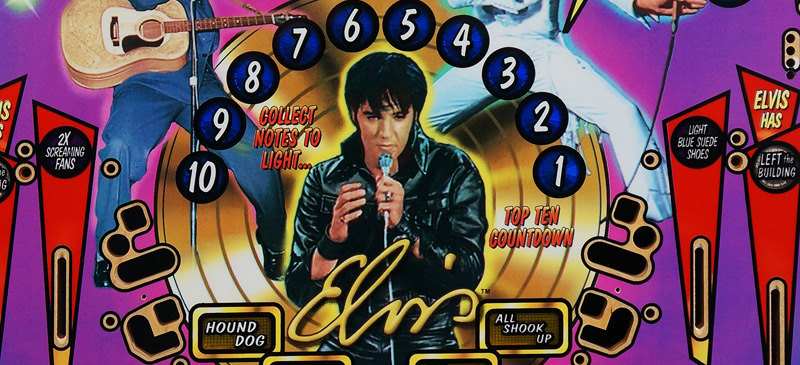
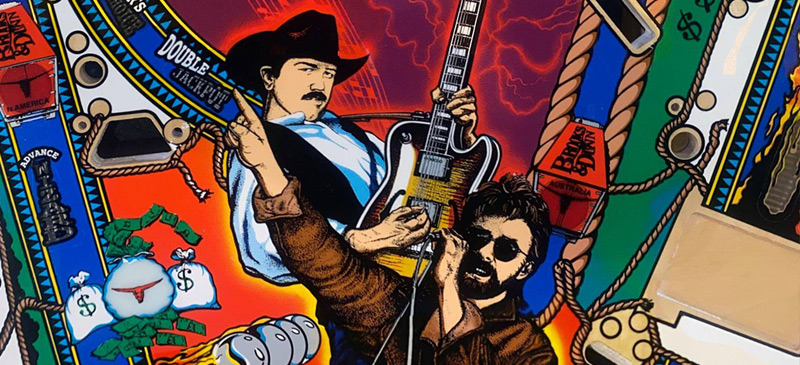
- Playfield Photo-Stitch
Rare Prototype playfield. The photos were of great quality, but a few had some soft spots, so the transition between the razor sharp focus sections and softer images is pretty noticeable. I'm still happy with this end product at least as a basic lo-fi starting playfield for any potential projects. The assets included in the links below along with some more time could net a much nicer quality version of this stitch.
1 hour
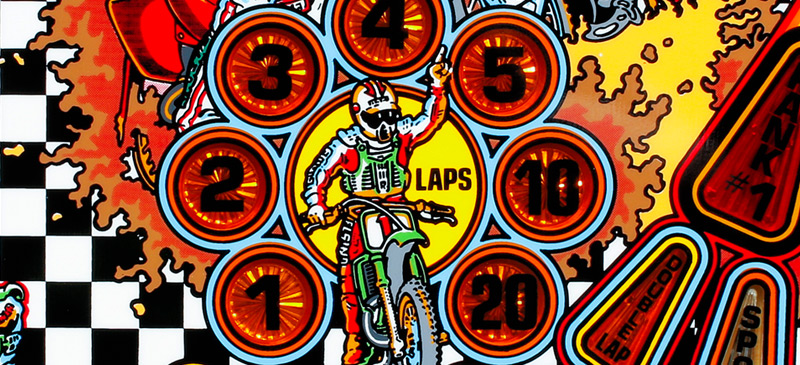
- Playfield Photo-Stitch
- Insert Scans
2 hours
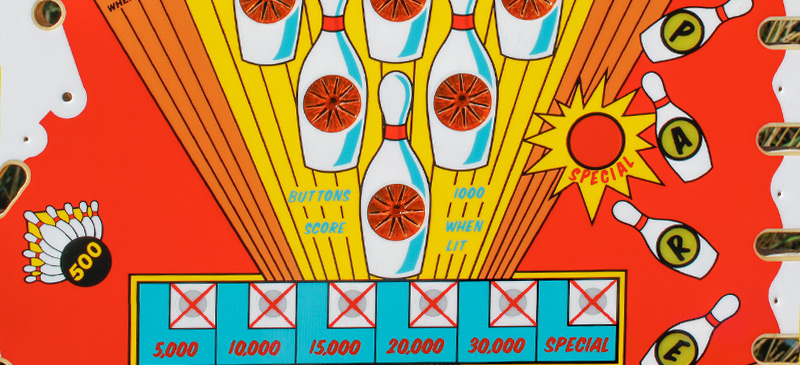
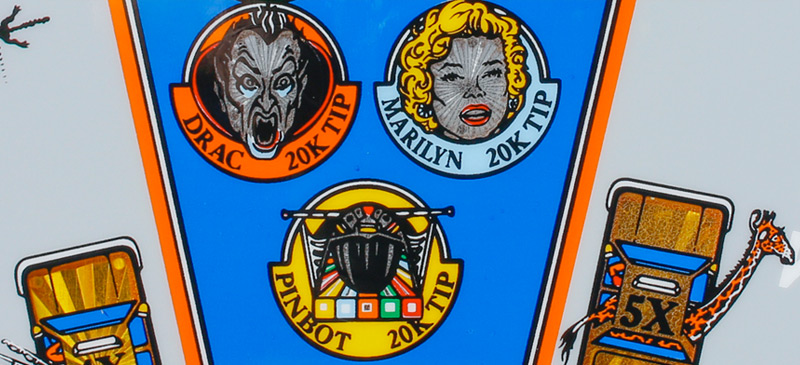
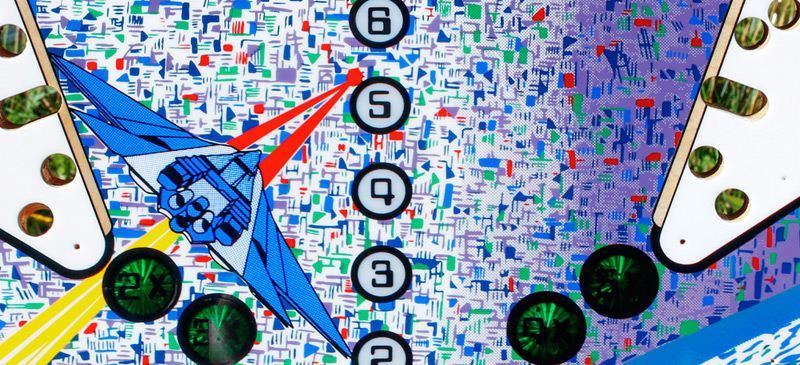
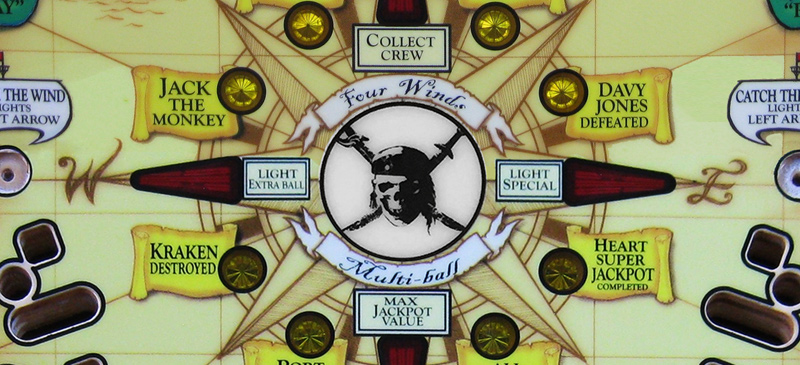
- Playfield Photostitch & mod for Sliderpoint's existing table
- Full set of plastics : scan, prep & add to existing table
- Decals (apron & back wall) : scan, prep & add to existing table
- Adjust Inserts / mechs to fit the new image assets
- Create & add separate insert image layer
Not All Treasure Is Silver And Gold, Mate....
I love this table so much! What started as an attempt at a playfield photo-stitch on a table I've never played in real life turned into my favorite project to date & many hours of updates. In addition to the playfield overhaul, I ended up acquiring, scanning and adding high res versions of the plastics (the full set) and decals (backwall and apron). This table is so fun and addictive and I'm a big fan of the theme/franchise. I put in at least as much play time as I did development time while working on it, simply because I kept getting hooked on chasing my high score. Hope everyone enjoys it as much as I do!
*****Credits*****
Many thanks to Sheltemke for helping with table sounds, graphics/inserts tweaks and testing!!
Many thanks to Sliderpoint for approval to create and deploy this mod from his amazing version. I just do mostly graphics updates (and steal all the glorious props at the end!), he and all the previous authors did the real work in getting this table built. Below is the relevant sections of Sliderpoint's original description. I'm including it here in an attempt to retain credits for all the people who really made this table so great.
*****Description from the Original Sliderpoint Table*****
Another version of Pirates of the Caribbean from Stern. This was my version that I made a year or so ago when 32Assassin was working on his version. I made some suggestions that didn't fit his WIP, he suggested I make my own version. So I did.
Thanks to BorgDog for testing and script help. Thanks to 32Assassin, Bord, HauntFreaks, Shreibi34 for theirs and the bits that were from their table: https://vpinball.com/VPBdownloads/pirates-of-the-caribbean-stern-2006-2/
And to Freneticamnesic for his original: https://vpinball.com/VPBdownloads/pirates-of-the-caribbean-stern-2006/
15 hours
- Playfield Scan Stitch
- Playfield Redraw
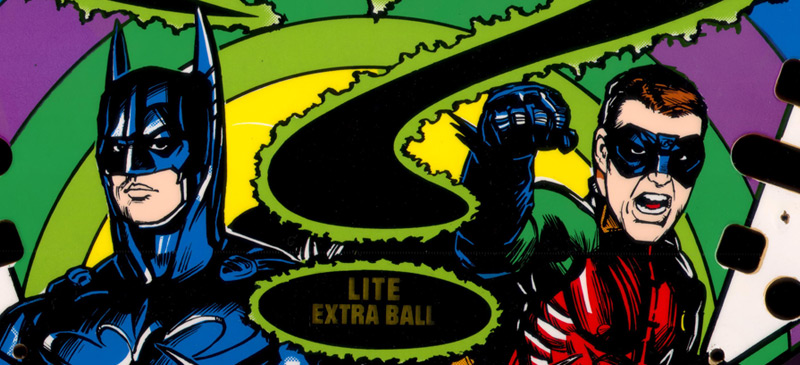
Sheltemke managed to get and share some really nice high-res scans of this fun table from the mid-90s. The original scans have a soft half-inch slightly out-of-focus line through them that required some redrawing and can still be seen in a number of spots. There was also a small section missing above Enigma (below the pop bumpers) that required a redraw. Both of these issues could be improved upon big time, but I am still happy with the current result and hope it works as a good working playfield (or even final playfield if the 'errors' are covered up enough by the mechs and toys once the table is completed).
Because there are some parts that could still use improvement, I tried to keep the original resolution throughout the photoshop efforts. The image wasn't sized down until the very final step and the high res versions go all the way up through "v3" in the psd folder in the link.
4 hours
- Playfield Scan Stitch
- Playfield Redraw
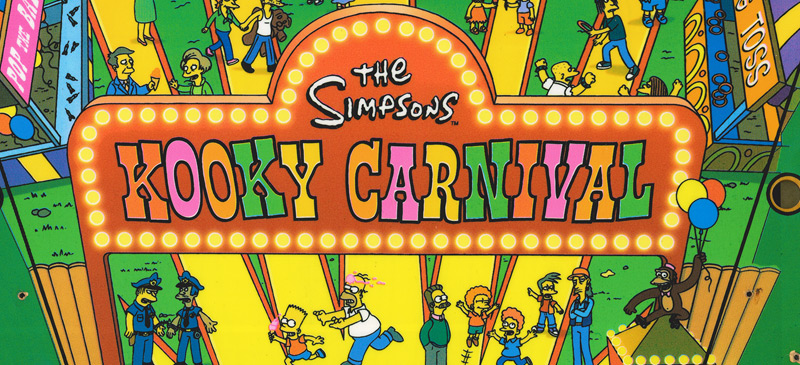
So.. not exactly a pinball playfield, but many of the toys on it were actually borrowed from TSPP and I am a big fan of the design. I thought this could make for a very fun original table from an existing pf design, so figured it would be good to share here.
The owner and person who shared the scans (thanks Tom!) actually took 3 cracks at getting the pf into digital. Once with a scanner that could only focus on half of the scanning bed, then a pro-print shop which could only get the top and bottom and again by the MacGyver efforts of dissecting his scanner. All 3 sets are available in the sources folder.
There are a number of spots that are still "soft" in the playfield, but this should be a really nice upgrade from currently available playfields (if any exist?) and the source assets could be potentially used to cleanup more of the fuzzy spots on the current version. That said, for a few hours project, I am happy with how the stitch came together and big fan of this playfield!
3 hours
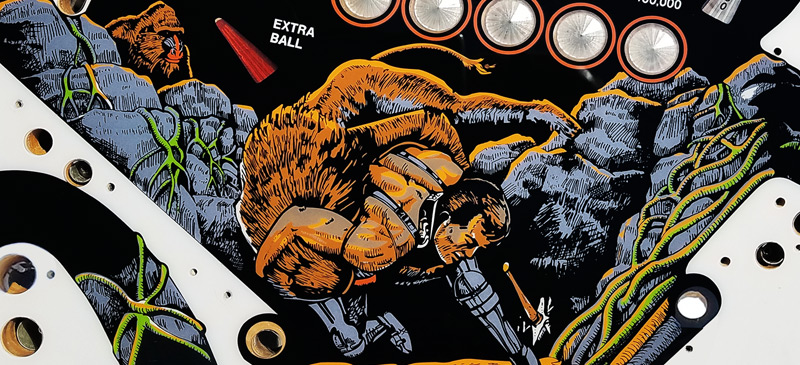
- Playfield Photo Stitch
Really nice high-res photos were provided for this one (thanks wrd!) which made intially stitching it together pretty easy, but there was some glare here and there that required a bit of a redraw for certain areas and a pretty heavy contrast boost to reduce the soft spots in the black areas. I think the high-contrast actually looks nice on this one, but I would've prefered keeping it a little bit less dramatic if possible. I am still a fan of the result though.
3 hours
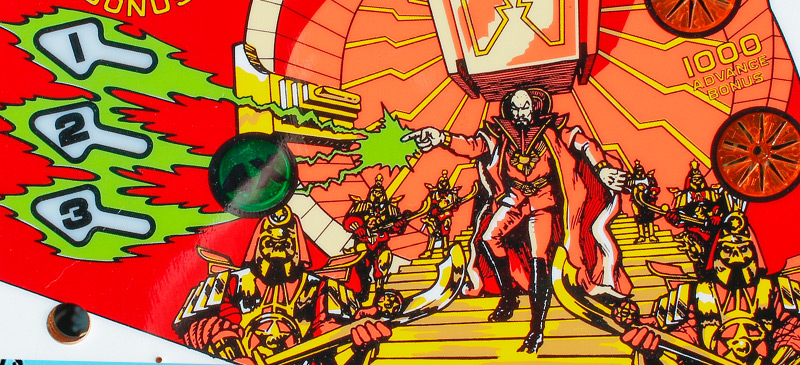
- Playfield Photo Stitch
- Stitched/ added higher resolution assets for Plastics, Apron, Apron Decals, Shooter cover/decals, Pop Bumpers
- Minor tweaks made to inserts, light intensity & some mechanisms to lineup with the new image assets.
edit: While adding the playfield to an existing table (as a demonstration to a member in one of the vpin facebook groups), I got carried away and started updating plastics when I found nice resolution photos on eBay. It felt like only a few more steps would be needed to finish up a decent mod, so I decided to hunt down and update decals, apron, and bumpers as well. What was meant to be a quick 1 hour demo turned into 10, but I'm really happy with the results.
I love the speed and flow on this table. Basically every shot in the top half of the table is rewarding and there's that short "safety net" feeling of relief when you can get up to the upper-playfield.
**********
A well-known playfield restorer recently decided to auction off a number of playfields from his personal collection on eBay. The seller included some amazing super hi-res photos. In the set are 1 reference image and 4 "section" images... on the section images, the lighting is perfect and when stitched together, the images are easily large enough for an 8k monitor.
I kept the resolution at its highest possible to future proof just in case some amazing 8k or super high dpi monitors become readily available. The psds contain the maxed out versions and are about 10,000 pixels tall (at 72 dpi).
The PNG file in the link is for use in current cabinets and is plenty large enough for a really clear image. I sized this version down to slightly larger than 4k pixels tall and 150dpi which should be ideal for pretty much every current 4k monitor.
There are some softer spots around the playfield that were just barely out of focus as well as some light glare, but I am still happy with how this pf photo stitch turned out
10 hours
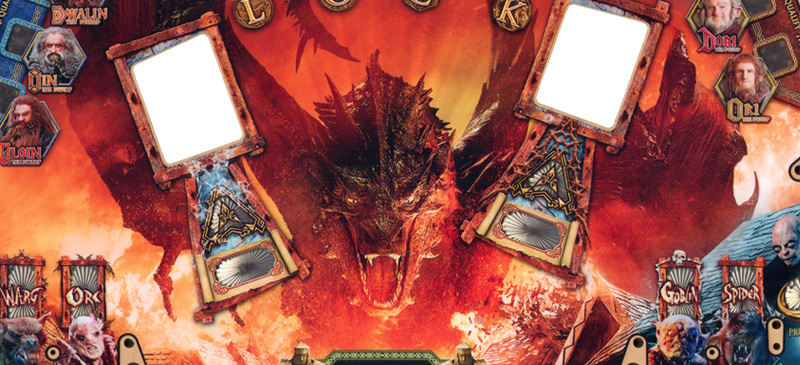
- Playfield scan
- Playfield stitch & color-correct
The scans were stitched, alpha layers cleared and playfield color-corrected. The original resolution files are available in the first few psd files, but it was then sized down (to the 300dpi large file below... still a huge image) for a quick reference version on larger non-virtual projects and further scaled down to 150dpi for the final "VPX" version.
I realized after correcting the colors that this playfield actually looks really nice before messing around with vibrance/contrast and contrast/brightness. As such, the 'official' link is to the untouched version. The color corrected version and the color-corrected 300dpi larger version can be found in the "PSD & source" link.
3 hours
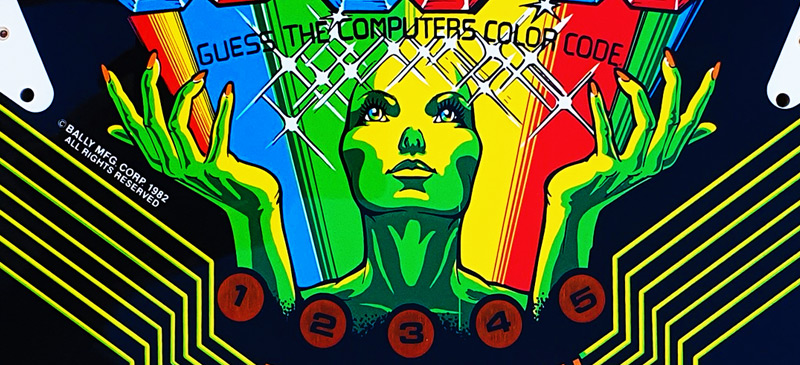
- Playfield Photo Stitch
Even though I spend most of my time playing dmd and newer, I'm a huge fan of the artwork on some of the older games. I was really happy to see some higher res assets available for this one.
1 hour

- Playfield Photo Stitch
The photos of this pf were really nice and perfectly sized for a decent res virtual version. There were some glare and hotspots, but still happy with the results and hoping it makes its way into future projects.
2 hours
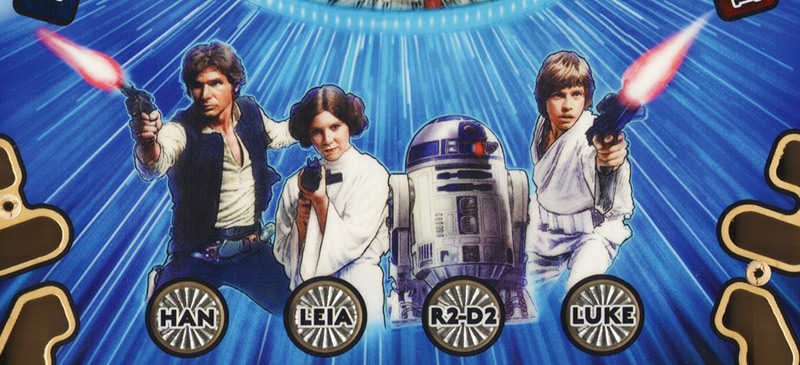
- Playfield scan
- Playfield stitch, color-correct & patchwork
This is a production rejected playfield. It has a number of drill holes in places that there shouldn't be any, but otherwise looks identical to the production run versions.
The scans were stitched, playfield color-corrected and nearly all the holes patched up. The original resolution files are available in the first few psd files, but it was then sized down (to the 300dpi large file below... still a huge image) for the patchwork version and sized down again for the final "VPX" version. Links available to both playfield versions.
3 hours
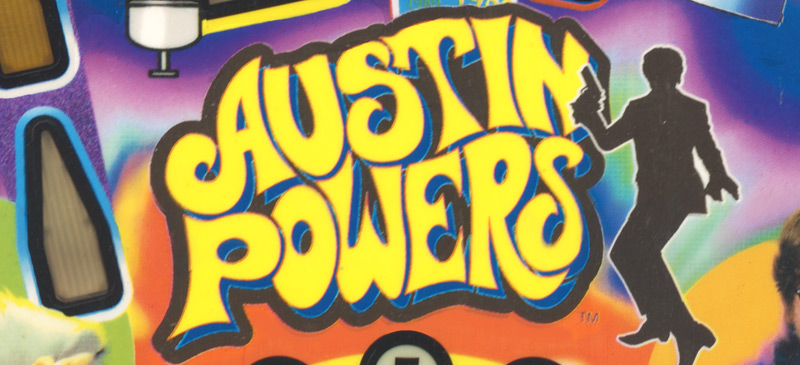
- Playfield Photo Stitch
The source photos on this were perfect, its just the playfield itself that has some issues.
This was a used playfield that looks like its seen quite a few games and could use a cleanup. There were some busted up parts around mechanism and mounting holes, visible playfield protectors and gunk throughout. That isn't necessarily a show-stopper (I kind of like some scuffs to give it more of an authentic look), but there is also the issue of the playfield print quality.
I've never seen one of these tables in real life, so I'm not sure of the print quality of the pf, but it seems like the photorealistic images and vibrant color palette coupled with some pretty low-res printing makes for a combination that is difficult to convert to a nice pretty digital image.
Hopefully this photostitch can still find some use in table authors' projects (even just as a starting / benchmark asset).
2 hours
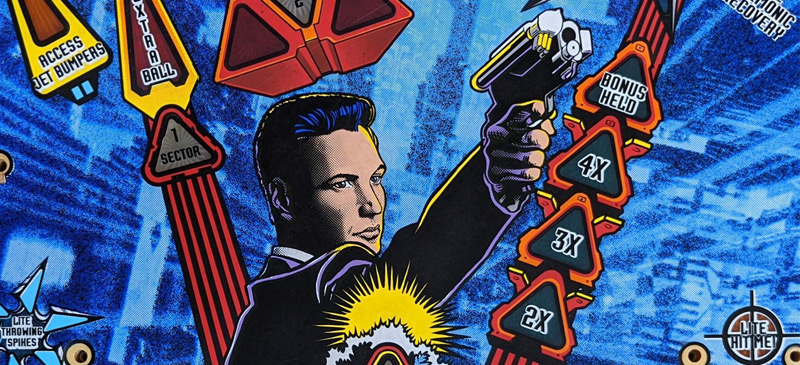
- Playfield Photo Stitch
This playfield could definitely benefit from a nicer source asset of the bottom-quarter of the playfield. There is a little glare on the right glove and some areas are soft / slightly out of focus. I think it still turned out nicely though and should be the highest res version avaialiable at the time of posting.
2 hours
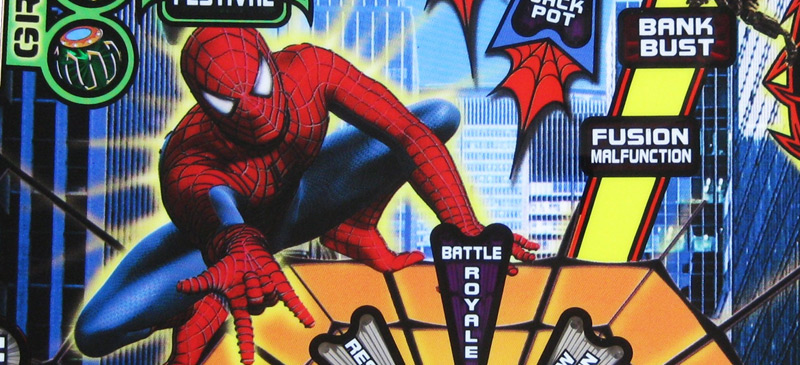
- Playfield Photo Stitch
The source photos had a lot of soft and washed out areas, but still seemed decent enough to warrant a photo stitch attempt. I wound up boosting the contrast a bit more than expected to try to rectify the washed out / pale areas and couldn't do much to fix up the out-of-focus sections, but still thought this was worth posting here since it could work as a pretty decent placeholder playfield until better assets are found.
2 hours
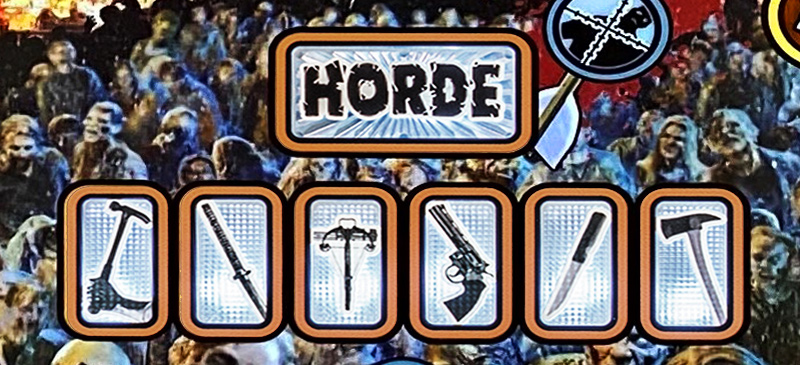
- Updated Dozer's existing table
- Playfield stitch, section redraw, colorize & fit the existing source table pf
- Insert and mech alignments
- Higher-Res assets for apron and apron decals
- crossbow launcher tweaks
- Default disabled many of the aftermarket mods
The source table used in this mod was put together by a handful of really talented developers listed below. My contributions were very minor by comparison.. primarily providing a slightly higher resolution playfield.
The playfield isn't super high-res and could be improved considerably, but I do believe it is a decent option at the time of this build. Even though some components from the source table are masterfully crafted (lighting and 3d models are incredible on this table) Plenty of additional tweaks could be made to enhance it further such as insert work, more apron work, more crossbow/ball launcher tweaks and other adjustments.
Below are the original credits taken from the scripts file of the source table. I am unsure if additional developers contributed since I could not find any additional info on the particular version downloaded, but I would be happy to update this list if anyone wants to inform me of any missed contributors.
***********
TABLE BY ICPJUGGLA AND FRENETICAMNESIC
SCRIPT BY FRENETICAMNESIC AND GTXJOE
MODELS BY FRENETICAMNESIC, RANDR, FLUPPER, DARK, AND ZANY
RESOURCES PROVIDED BY NORTHVIBE, URIELL, PAULO, AND PINBILL
LE Conversion By Dozer - 3D Models / Ramps / Tex by DARK / Flupper
Crossbow Technical Support provided by PinBill
5 hours
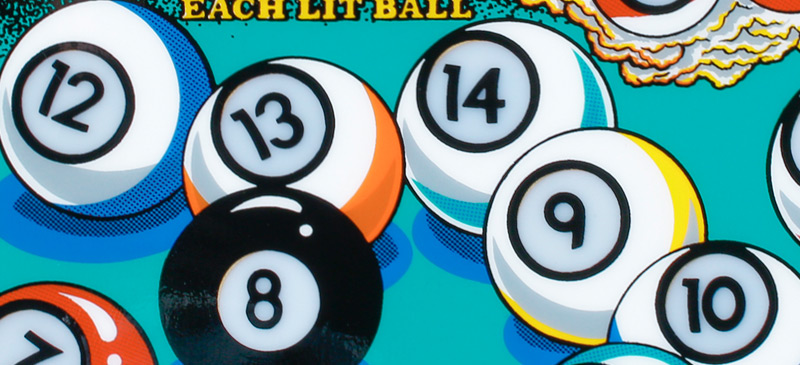
- Playfield Photo Stitch
- Remove playfield holes (from relevant sections)
A well-known playfield restorer recently decided to auction off a number of playfields from his personal collection on eBay. The seller included some amazing super hi-res photos. In the set are 1 reference image and 4 "section" images... on the section images, the lighting is perfect, the focus is spot-on and, when stitched together, the images are easily large enough for an 8k monitor.
I kept the resolution at its highest possible to future proof just in case some amazing 8k or super high dpi monitors become readily available. The psds contain the maxed out versions and are about 10,000 pixels tall (at 72 dpi).
The PNG file in the link is for use in current cabinets and is plenty large enough for a really clear image. I sized this version down to slightly larger than 4k pixels tall and 150dpi which should be ideal for pretty much every current 4k monitor.
2 hours
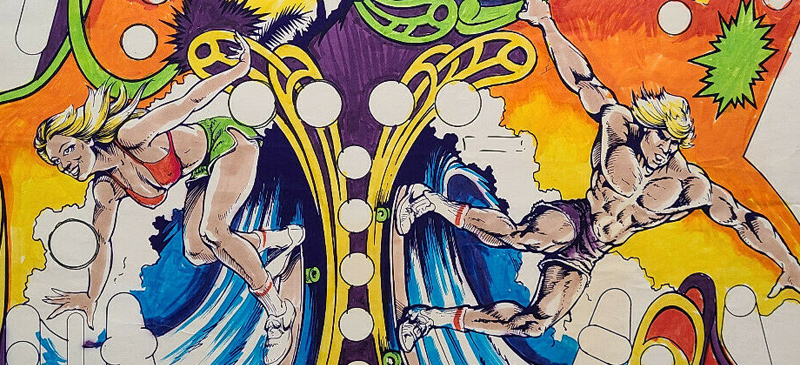
- Playfield Photo Stitch (x2)
- Playfield Digital Restoration (vintage table)
- Inserts Redraw (vintage table)
Shortly after finishing a stitch and redraw of a pretty scuffed up "vintage looking" version of the pf, some photos popped up of a playfield that looked super clean and as if it had never been put inside a machine (from a restorer's private collection).
Rather than merge or scrap the first project, I decided to provide both in case they might be of some use. The first pf is a really nice clean hi-res version (with super hi-res options available in the source PSDs if we ever see something like an 8k virtual pin). The "vintage version" is also well suited for 4k monitors, but is slightly lower than ideal since its the correct dimensions but only 72 dpi
5 hours

- Playfield Photo Stitch
- Remove playfield holes (from relevant sections)
edit: Sheltemke did a masterful update/mod to an existing Fish Tales table utilizing this playfield. A link to that table has been added below.
original comments post:
A well-known playfield restorer recently decided to auction off a number of playfields from his personal collection on eBay. The seller included some amazing super hi-res photos. In the set are 1 reference image and 4 "section" images... on the section images, the lighting is perfect, the focus is spot-on and, when stitched together, the images are easily large enough for an 8k monitor.
I kept the resolution at its highest possible to future proof just in case some amazing 8k or super high dpi monitors become readily available. The psds contain the maxed out versions and are about 10,000 pixels tall (at 72 dpi).
The PNG file in the link is for use in current cabinets and is plenty large enough for a really clear image. I sized this version down to slightly larger than 4k pixels tall and 150dpi which should be ideal for pretty much every current 4k monitor.
1 hour
PSD & Source Assets
Table link will be re-added if the original Author republishes to a new website
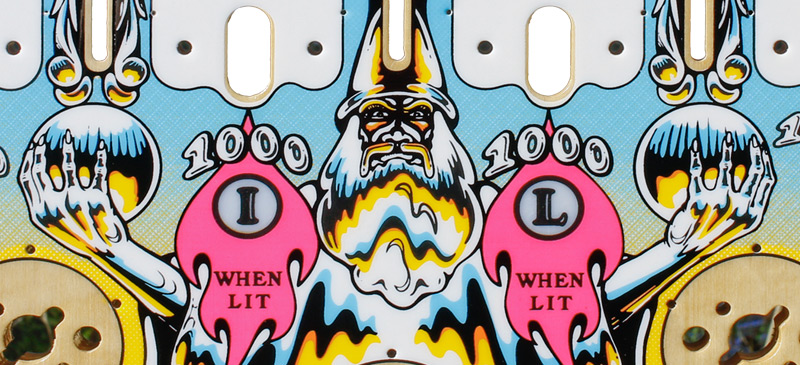
- Playfield Photo Stitch
- Remove playfield holes (from relevant sections)
- Minor colorizing / contrast boosting to the darker sections to reduce photo glare and hotspots
A well-known playfield restorer recently decided to auction off a number of playfields from his personal collection on eBay. The seller included some amazing super hi-res photos. In the set are 1 reference image and 4 "section" images... on the section images, the lighting is perfect, the focus is spot-on and, when stitched together, the images are easily large enough for an 8k monitor.
I kept the resolution at its highest possible to future proof just in case some amazing 8k or super high dpi monitors become readily available. The psds contain the maxed out versions and are about 10,000 pixels tall (at 72 dpi).
The PNG file in the link is for use in current cabinets and is plenty large enough for a really clear image. I sized this version down to slightly larger than 4k pixels tall and 150dpi which should be ideal for pretty much every current 4k monitor.
1 hour
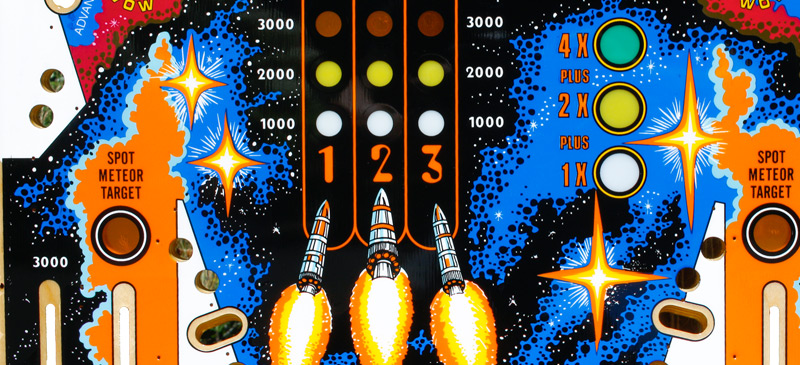
- Playfield Photo Stitch
- Remove playfield holes (from relevant sections)
A well-known playfield restorer recently decided to auction off a number of playfields from his personal collection on eBay. The seller included some amazing super hi-res photos. In the set are 1 reference image and 4 "section" images... on the section images, the lighting is perfect, the focus is spot-on and, when stitched together, the images are easily large enough for an 8k monitor.
I kept the resolution at its highest possible to future proof just in case some amazing 8k or super high dpi monitors become readily available. The psds contain the maxed out versions and are about 10,000 pixels tall (at 72 dpi).
The PNG file in the link is for use in current cabinets and is plenty large enough for a really clear image. I sized this version down to slightly larger than 4k pixels tall and 150dpi which should be ideal for pretty much every current 4k monitor.
1 hour

- Playfield Photo Stitch
- Remove playfield holes (from relevant sections)
A well-known playfield restorer recently decided to auction off a number of playfields from his personal collection on eBay. The seller included some amazing super hi-res photos. In the set are 1 reference image and 4 "section" images... on the section images, the lighting is perfect, the focus is spot-on and, when stitched together, the images are easily large enough for an 8k monitor.
I kept the resolution at its highest possible to future proof just in case some amazing 8k or super high dpi monitors become readily available. The psds contain the maxed out versions and are about 10,000 pixels tall (at 72 dpi).
The PNG file in the link is for use in current cabinets and is plenty large enough for a really clear image. I sized this version down to slightly larger than 4k pixels tall and 150dpi which should be ideal for pretty much every current 4k monitor.
1 hour
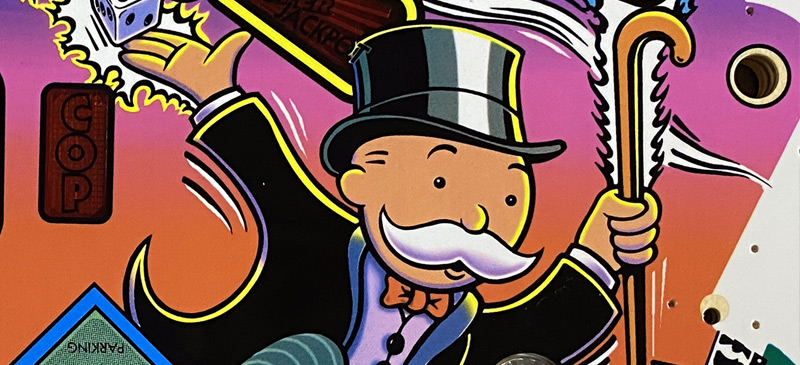
- Playfield Photo Stitch
edit: Playfield has been added to 32assassin's nice version of the Monopoly table. The work to get it up and running on a table was all done by Sheltemke & 32a.. this was a really nice surprise to see the pf added to a functioning table so quickly after release (and a really underrated game, imo)! Link to the table added below
*******
The source table has some areas which might benefit from a digital-cleanup/redraw, but the source photographs are perfect. Nice sharp focus, very high resolution and great lighting.
1 hour
Table link will be re-added if the original Author republishes to a new website
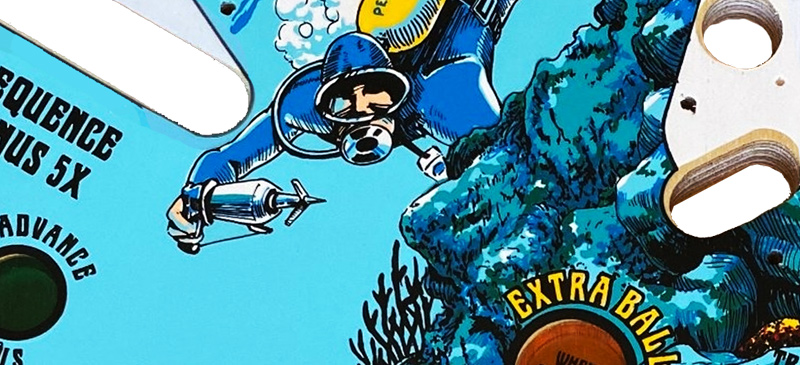
- Playfield Photo Stitch
Small mods to an existing table, primarily adjusting brightness / realigning the inserts to match the new pf as well as tweaks to physics/look of launcherSee comments.
The author of a really nice version of this table didn't see a big enough improvement using this playfield to allow a mod to be released (which is totally fine in my opinion!) Some changes/differences are a matter of personal preference. This pf might have different contrast, saturation, sharpness etc that some people find nicer and others prefer different styles. Much of this craft is subjective and my contributions pale in comparison to the efforts other members put into building full tables.
I'll be using my pf stitch for a "playfield update" tutorial in the near future. All assets and steps will be provided for anyone that would like to see what this playfield might look like on any of the great Fathom tables that are already available to the community.
3 hours
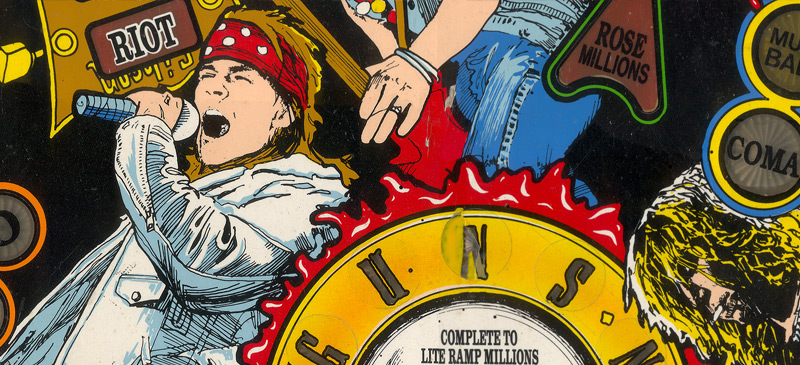
- Playfield Photo-stitch
Immediately after finishing the first stitch from images found on pinside, I came across a link in the fb groups to much higher resolution versions of the same table assets I used for stitch #1.
Using that lower res version as a template (which may still be of use to some people since it has various assets of inserts that look better than the soure photos used in the hi-res stitch), I put together the much higher-res version in the link below.
I found a few posts mentioning others had already stitched this pf together from these same assets, but I was unable to find any of the mentioned playfields. Hopefully my version isn't completely redundant and finds a use in some projects.
4 hours
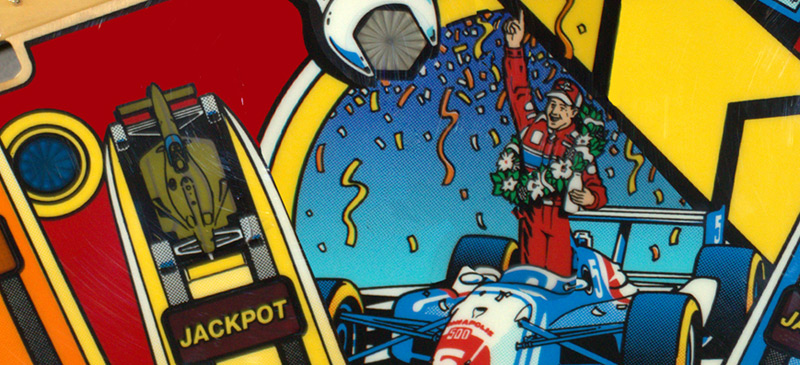
- Playfield Photo-stitch
The starting resources were great quality photos , but for some reason this one took much longer than expected and I still ended up cheating a bit on the center image by cropping out some small bits of content to make it all fit. This could benefit from a new photo stitch or some patch work on some of the slightly dodgy areas, but I am still happy with the end result and (imo) it definitely turned out to be a nice decent resolution version of this playfield.
5 hours
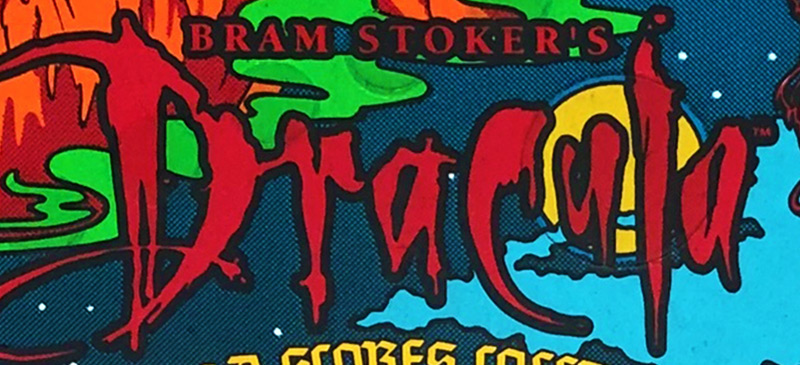
- Playfield Photo-stitch
Right after completing this stitch, I found that there were two nicer versions of the table than the one I had on my cabinet. ICPjuggla's version from 2016 and Bigus's mod of this table have really clean playfields with inserts already tweaked and the pf finalized. I think my version has some differences, but ultimately their versions are already really good quality and not worth switching unless a very clean high-res version of the playfield becomes available.
The source assets are included in the link below in case anyone does want to use my version in their projects. I like how this one turned out, but the center playfield could be cleaned up a lot more. I ended up boosting the contrast and decreasing brightness of those "DRACULA" inserts more than planned and that area might benefit from some additional work.
2 hours
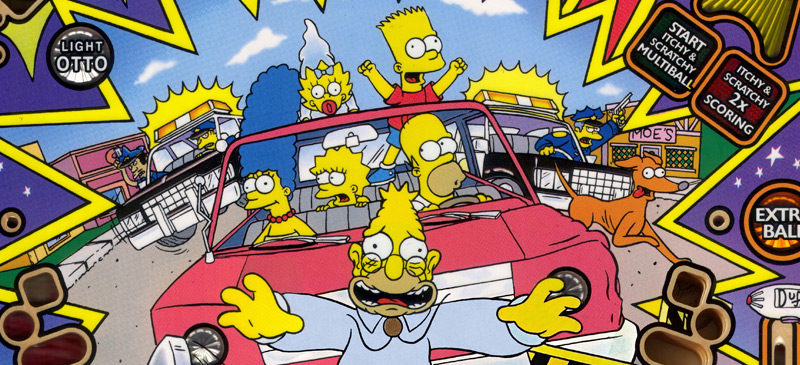
- Filled in a small section (center playfield area near the car & Grandpa Simpson) from an already stitched together playfield
My efforts were a small portion of this photo stitch, but still took a decent amount of time because I didn't want to skimp on quality considering the epic starting assets. These great scans / completed photo stitch (I think completed by the OG 32assassin?) were missing an area right in the middle and I took a crack at redrawing that section.
Thanks Xantari for looping me into this project and providing all the details/assets.
edit: This playfield was added to 32assassin's amazing version of this table. Link added below
5 hours
Table link will be re-added if the original Author republishes to a new website
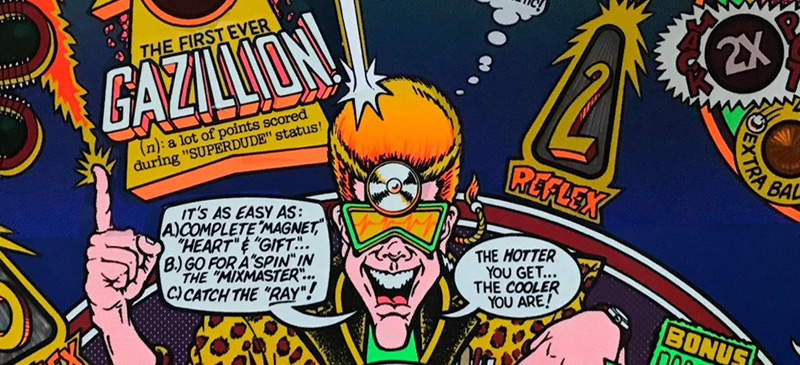
- Playfield Photo-stitch
Not the best quality, but hopefully it is useful as a "working asset" for any projects.
1 hour
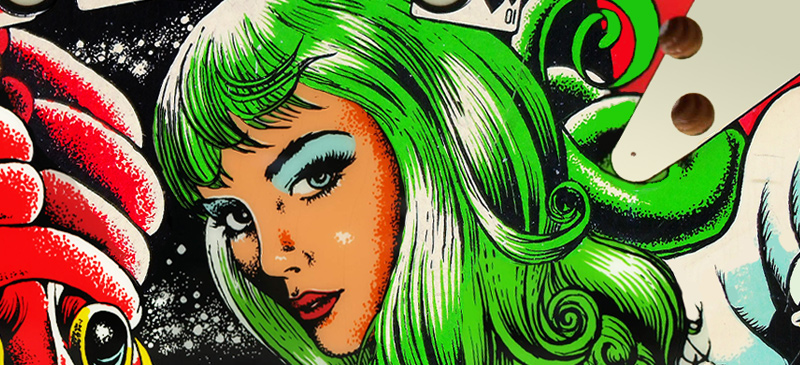
- Playfield stitch from hi-res photos
- Added the new pf to BorgDog's VPX table and made some minor tweaks to the inserts / lighting to match up with the new pf
This was a trickier project considering the source assets. The quality of the images used were very high quality (a kruzman restro project from 5 years ago found on pinside), but the angle they were taken at and the glare made it somewhat challening to put these all together into one flat image without warping. I'm happy with the result and think this adds to BorgDog & Hauntfreak's already awesome table.
8 hours
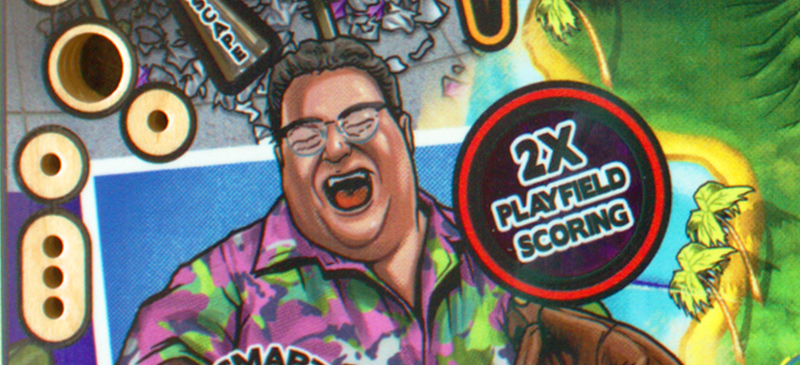
- Hi-Res Playfield Photo-stitch
Really nice clear and high-res source photos were provided for this one. Some of the shots are slightly warped so an upgrade to this playfield could be accomplished by using a reference image and warping sections of the stitched pf to try to align it to the more accurate layout (or alternatively - use scans), but the current version should suffice as a nice decent resolution for any JP projects.
This was a quick stitch, so there are a couple disconnected parts near the top of the playfield. These should be quick fixes from the source PSDs, but if anyone ends up using these in their own projects and needs some help / wants a more hi-fi stitch, let me know and I'm happy to take a crack at a new/cleaner version.
2 hours
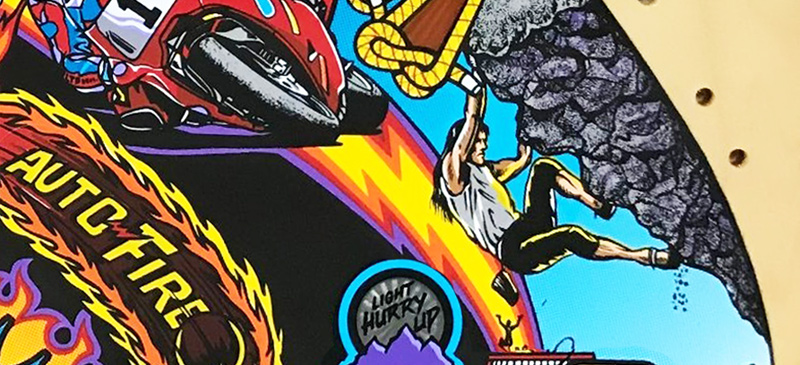
- Playfield Photo-stitch from images found on pinside
Reasonable playfield stitch for a 4k table and higher-res than what was previously available, but better versions could be made from higher res resources.
2 hours
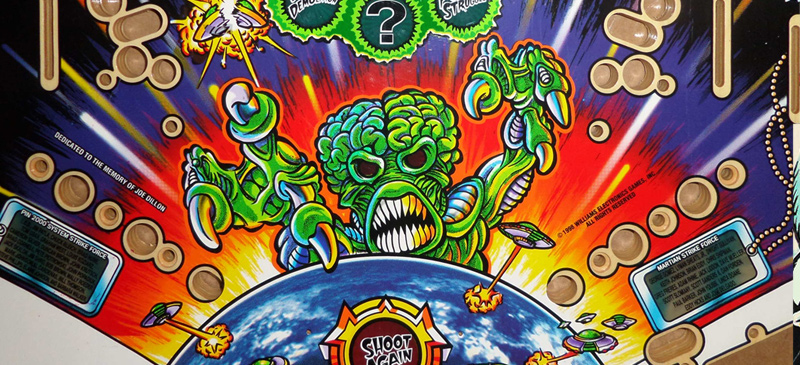
- Playfield Photo Stitch
I love the artwork on this playfield and think Pinball 2000 would be amazing on virtual cabinets, but unfortunately the copyright holders weren't keen on seeing their IP appear in the vp communities.
This PF lines up well with JPSalas's Attack & Revenge from Mars table and looks great, but I also wanted to share it here in hopes that it might help anyone working on their own skunkworks projects... I would be more than happy to help demo any projects that might use this PF (and very respectful of any author's requests in regards to not sharing)
2 hours
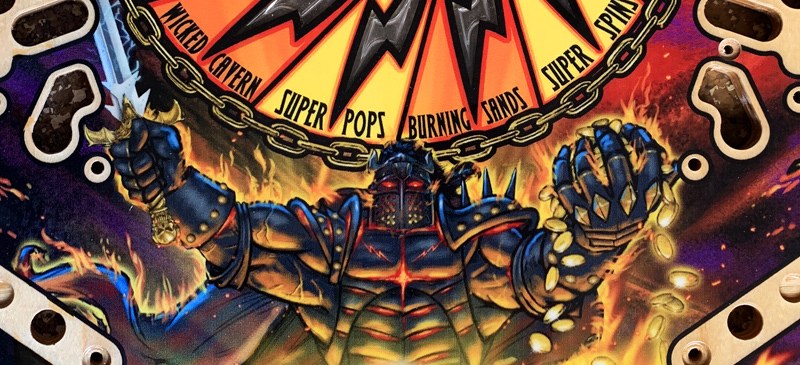
- Playfield stitch from hi-res photos
- The photos used for this were really hi-res and as a result, should work well as a final playfield. A scan would still be better in order to maintain the proper aspect ratios and alignment for each section, but barring that, I was happy with how this one turned out.
The playfield owner for this table took some amazing photographs that are perfect for a photo stitch! There are actually 3 separate sets of source photos in the attached link, so others can also attempt to do their own stitch, redraw or use sections for cleaning up the provided playfield.
There are a number of small issues with elements lining up at certain points with the attached "final" playfield and this one took longer than other projects for some reason, but I still think it turned out really nicely and could be a good final product for any BK:SOR projects.
4 hours

- Playfield scan, stitch, cleanup & redraw
- Add to Fuzzel's existing table and align insert lights to match the new scan
- New Apron assets
Update to Fuzzel's table coming soon. There are a few more small updates to go.
6 hours
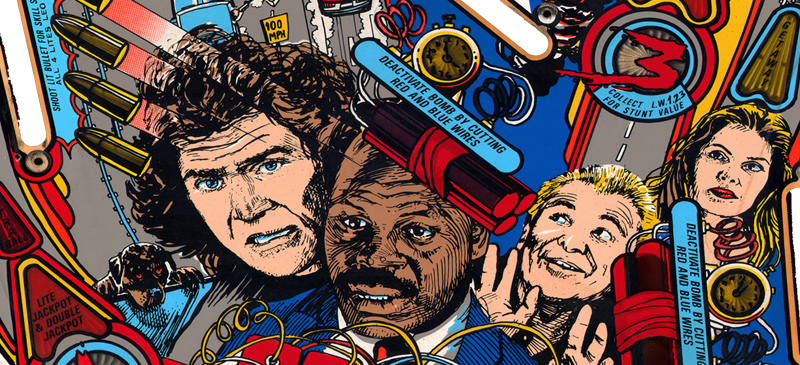
- Playfield scan, stitch, cleanup & redraw
- Overhaul to Javier1515's table
- New high res images for the plastic, decal, apron assets
- realignment of playfield mechs, inserts, etc
- Physics tweaks (based on youtube gameplay vids)
- lighting updates
This was my largest overhaul to date. Despite how much effort I put in, I'm still amazed at how much work other table creators put in to these that the community might not fully appreciate. It would have taken me at least twice the time if it wasn't for Javier's version & I probably would've been too intimidated to start. His work is greatly appreciated!
The reason for picking LW3 as a project was to get the groundwork laid on eventually trying to make a vpin version of the elusive Michael Jordan table.
20 hours
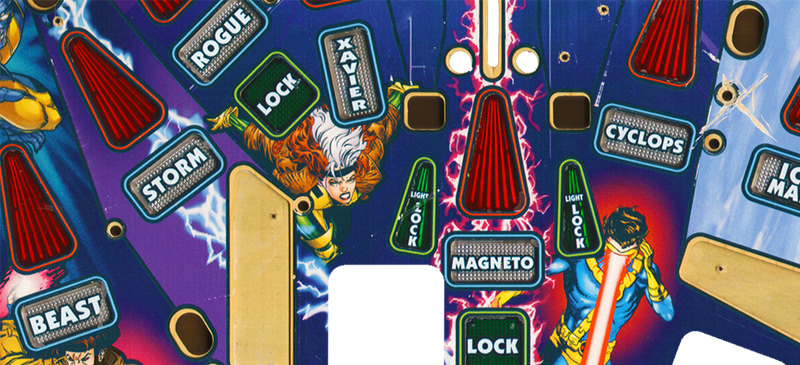
- Playfield scan, stitch, cleanup & redraw
- Add to existing table and align insert lights to match the new scan
- New Apron assets
- New Nightcrawler plastic assets
- code debug for a few insert lights and storm switch
Check the original scans if you want to see how much photoshop effort was required to get this to look a bit nicer. The source playfield was a Pro model that had been pretty beat up and then modded to act as a test field in a Metallica pin (so it had a lot of additional holes).
I was a bit disappointed with how the final resolution turned out and can only guess that something about the playfield's printing process doesn't mesh well with the 4600 scanner. I would like to try to get sharper images by using photographs in the near future, but I am still happy with the current state of it.
10 hours
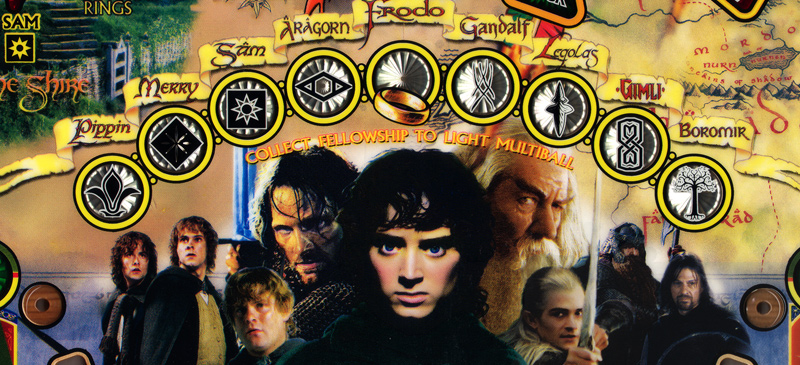
- Playfield scan, stitch, cleanup & redraw
- Added to Siggi's latest table & re-align the inserts (VPX table available in the scans link below)
The credit for this scan was unfortunately attributed to the wrong guy in a table that was released to the public earlier this year. Adam Stillman downloaded my scans, forgot where he got them from and sent to Bigus without any clarification that he didn't do the actual work. I reached out to Adam a few months after noticing this and he seems cool enough so I definitely don't want these comments to seem negative or considered an aggressive rant... just wanted to share the story as a way to explain that this is the only reason I add watermarks with the EBisLit logo at the bottom left of my playfields now. If you want to see this playfield being used, check out Bigus's awesome table in the "Table" link below.
update: Bigus had no idea that Adam's only contribution was downloading and sending the playfield files. When he found out, Bigus added my name to the credits in his most recent table update. Very cool & much appreciated!
3 hours
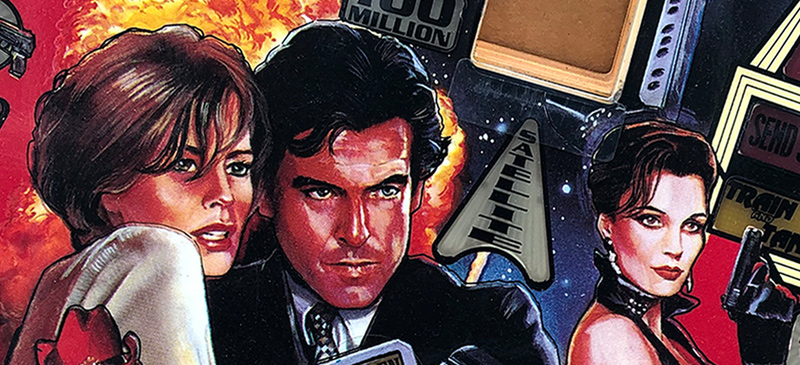
- Stitch, cleanup & early-stage redraw from a handful of hi-res photographs
Fun quick project. I wasn't sure if the photo image stitch was ever used by JPJ & the PP team in their epic recent Goldeneye release. Out of curiosity, I recently exported their table playfield and saw that they gave me a shoutout right on the bottom left of the playfield!! It was such a nice surprise and so cool to find out that it was useful for their work. That team is awesome!
They did a LOT more work redrawing to make the playfield vp table ready, but I am happy that my version could be used as a starting point.
2 hours
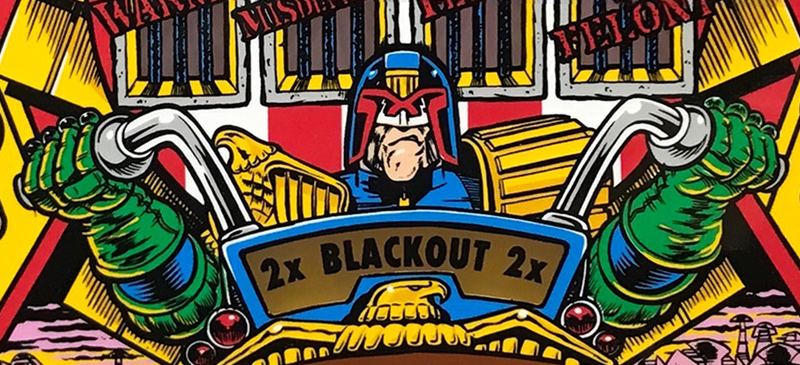
- Hi-Res Playfield photo stitch
Judge Dredd photo stitch.
edit: A nicer version surfaced earlier this year and was added to a really well done mod, so my project is here more just for posterity and if anyone find a use for the original assets.
I didn't have any involvement in this REALLY well done BrandonLaw playfield & Bigus1 update, but it is such an excellent mod of Dozer's original version and has been getting a lot of playtime on my vpin over the last month
BrandonLaw's playfield looks really clean, but I decided to overlay my version on his layout to see if there were any sections that might be nicer if the images were merged. His version is top notch and all the inserts and text areas have already been cleaned up so well that I didn't see any benefit in changing it, so if you need a Dredd scan for any projects, I would recommend exporting his from the Bigus1 table.
1 hour
About & Tutorials
Photostitching a Playfield:
Like Paul Bunyon, the first 30-40 playfields completed (60+ attempted) were done without any automated merging tools. The steps below work for both methods, but the comment in red highlights where time and effort savings can be had if using automerge or similar photostitching tools. The process went something like this:1)Try to find a lower resolution image to use as a layout. A great source for this can be pinball parts sale websites that offer "playfield overlays" and have flat and perfectly aligned shots of the pf. At the other end of the scale (but still better than nothing), any resolution facebook photo of a person holding up a full playfield can be used too. This reference layout image would act as the base layer. Skew warp and thransform as needed since the resoltuion and quality of this layer isn't important... although you may not want to mess around with it too much since it is meant to be a template for the real table. (I later received the great advice from Bord to look up the playfield's actual dimensions and use real world scales as the starting dimensions of the layout. Its a smart idea and I highly recommend this step!)
2) My next step would be to happily slog away piece by piece skewing and transforming every fragment. I would start from a center spot[tip 1] shift the opacity of the fragment and then skew and squish the image until it was roughly aligned with the background. Precision isn't wildly important for the first fragment, but it is really important for the next ones. Photoshop processes the image with certain functions, so a focus is always put onto trying to get alignment (with the other fragments) close to perfect before applying any changes to reduce the total number of times a section gets re-processed. I would avoid using warp for this reason until the very end and only if its considered absolutely necessary. Warp is a fun little tool that makes adjustments very quicky and easy, but it destroys the quality of the image if the image editing software has to calculate the dramatically shifted pixel locations over and over[tip 4]. A few (unfortunately tedious) methods of avoiding using warp would be to erase/not use any drastically distorted edges from photos, crop out and tweak individual sections that need heavy modification and, worst case, you can cheat a little bit with the images if it feels like the integrity of the image is compromised more by the reduction in quality from warping.[tip 3]
[this is where photoshop's automerge tool is wildly useful! There is still a benefit to providing rough alignment with all the fragments, but instead of having to do this process manually, automerge can usually shave off the tricky parts of step 2, all of step 3 and 4]
3) Do step 2 until your eyes start watering.
4) When a section doesn't seem to fit with multiple other sections around it this can be a little tricky to fix, but fun. It helps me to think of a rubik's cube for this problem. Basically when you skew one corner, you should be mindful of how it affects the elements in some other opposite corners. you can start aligning elements slightly 'off center' knowing that a shift to an opposite area for separate elements will pull it back into position. This sounds tricky, but is actually quite fun when it works and so long as you aren't applying the transofmration until you're truly ready, there is no impact to quality doing this dozens of times until its just right. There are probably better ways to do this, but I found this to be very useful in getting everything properly aligned without sacrificing quality.
5) Check through each area and make sure there's no overlap or misalignment. If an automerge tool was used, this section may require a little more work, but it will also better highlight if the tool inadvertantly cropped out or misaligned any sections.
Congrats! You've done a photostitch!
Hopefully you're willing to share it with the community and don't be too hard on yourself if the reception isn't as warm as expected [tip 2], ultimately it will amount to the community having better resources for more tables whether or not it gets praise or likes.These next items are optional, but very useful:
6) Clear sections that will have mechanisms showing through. For example, creating transparent areas for sections like rollover switches means we'll be able to see the switch components and any associated animation that appears below the playfield
7) Clear junk off the playfield. Dirt, posts, scratches etc. I actually like the look of peeling decals, dents, and various little playfield issues, but the ideal look is very subjective. If its a 3d object like a post, it is worth removing, but the imperections that show the machine was actually used and played on sometimes give it a charming (almost MORE realistic) look and feel in my opinion. I would usually prefer a nice resolution photo or scan over a full redraw of the playfield which can sometimes appear too perect and therefore 'digital'.
8) Color Correcting. Getting color right is one of the highest paid post-production jobs in the movie industry for a good reason. This is a very tricky process I won't pretend to know how to do properly. I usually simply boost contrast to hide glare and provide a more dynamic feel to the image. Boost vibrance/contrast slightly (but dont get carried away) to appeal to the general masses and better match the actual tables. A more pale or washed out look might be technically more accurate to the real tables, but the saturation and conrast boost seems to be more well suited for the general playfield monitor. Diving into VPX LUTs and the option to easily tweak the lighting is also an option that premium 'royal treatment' tables sometimes receive from the legendary table authors.
TIPS
tip 1)Working from the "Middle Out":
Starting from a center point allows for a larger margin of error since issues multiply the farther you go from the starting point. Starting at the bottom and having some misalignment between 2 fragments meant each subsequent piece would need slightly tweaking or cheating to fit. That could mean the very last piece at the top would be very difficult to fit in)
tip 2)
On misalignment / perfection:
Of my last 5 deployments (which includes about 30+ playfields), there has been at least one criticism about alignment. It doesn't feel great to hear comments such as "this is just the photostitch" or "its an ok starting asset but needs a lot of work" after shelling out hours of sincere effort doing more than what I might consider "just a photostitch", but if it ultimately results in a chance of a nice table being built for the community and myself, I'm fine with the initial efforts being a bit undercut. I whole-heartedly support anyone who wants to get a playfield 100% perfect before handing it off, but here's my outlook... there are plenty of tables out there with either no playfield at all or ones that are really obviously low quality. I can spend 7-10 hours or more getting a playfield perfectly aligned at what might be considered 99-100% ready for a table or I can spend 2-3 hours getting a playfield up to a 95-99% range. I would much rather spend a couple hours and share more playfields since I'm usually unsure of which of these might actually get used for high-end tables where perfect alignment is really important. The other consideration is what steps are needed to get photo-stitches properly aligned. This will sometimes require warping and reprocessing of the image, so I would much prefer handing off the highest quality resolution and let other authors finalize whatever tweaks are needed for a table update. It might be that someone prefers higher resolution assets over perfect matching alignment.
tip 3)
On cheating:
An example of a cheat might be 'bending' a playfield's outline that might appear below a plastic or toy so that the images align better even though that isn't exactly matching with the original playfield.
tip 4)
The Warp Tool:
Avoid Warp at all costs and if you feel the absolute need to use it, try to do all your warping in one fell-swoop. This sweet little tool makes merging and adjusting photos incredibly easy, but it also reproesses the image after every use which ultimately means whatever photo software you're using is going to make some calculation to estimate where all the affected pixels "should" be when regions are shifted. This happens with a lot of the tools used in photo-stitching, but warp seems to more dramatically impact more regions.
tip 5)
Image Size:
Handing off larger images is always better. No need to go overboard though as it might be more hassle than its worth keeping a 20,000 pixel tall 300mb TIF, but aiming for 2x the final playfield size is generally a good rule of thumb. This leaves room for any major changes or post-work (such as lighting effects) needed that might be applied to some higher end table builds. This doesn't mean taking an already sized down image and just increasing the image size, once a file has dropped down in size, re-increasing it will not increase the image quality.
Works in Progress
Below are a few tables that I have found good resources for, but are either still being stitched together or have already made their way into larger projects and will be deployed sometime in the future.
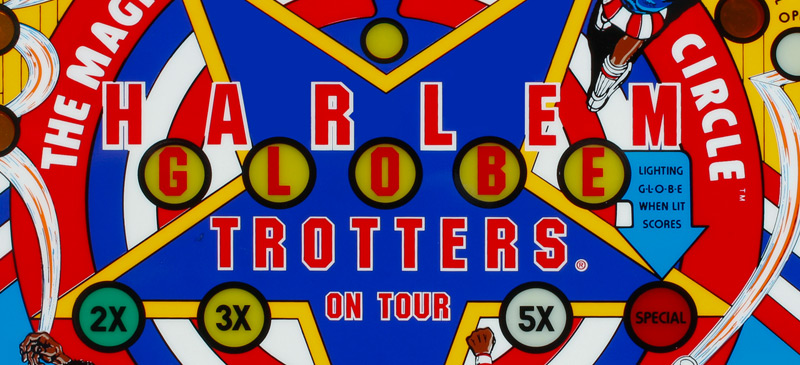
- Playfield Photo Stitch.
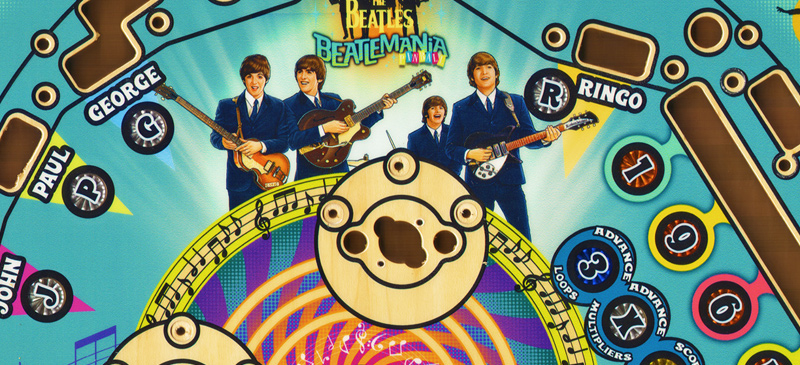
- Playfield scan & stitch
- Quick redraw/color work done as a test
- Table coming soon
Please keep in mind that a mod version of a beatles table did get a C&D a couple years ago, so for respect to the community and to avoid any type of crackdown, be considerate in how you use these scans. That said, I hope these are found to be useful in anyone's personal projects & would be happy to help out or see any results.
This is technically a production rejected playfield, but I have yet to find where the issue is.
2 hours
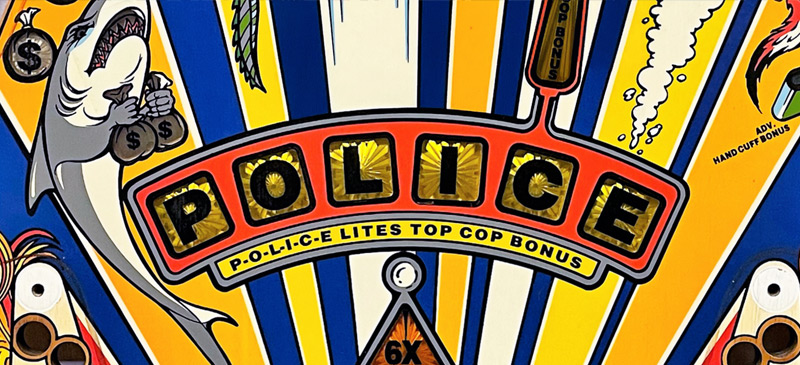
- Plenty of amazing resources came from a membmer in the vpin community for this machine, but unfortuantely, quite a few playfield mechs were left on at the time when a member of the vpin workshop group went out to gather photos of all the assets.
Fortunately an additional set of assets for a cleared playfield became available that I was able to stitch together. I am happy to have been able to provide an early stage stitch for this project.
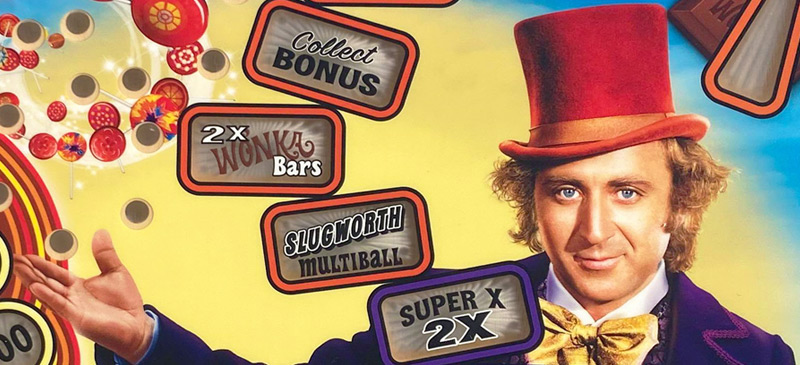
- After 5 attempts from 4 resources, a set of nice Wonka Playfield assets were found and are being used for a current / upcoming project.
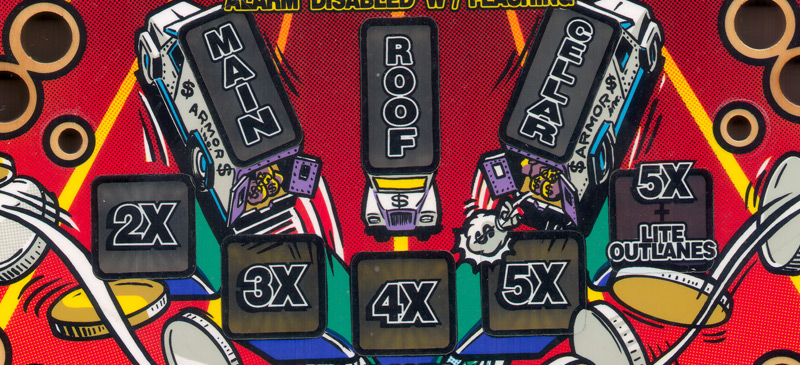
- In a second attempt on Safe Cracker, I re-stitched the original scans and saved the final table at a higher resolution than the first. I'll be including 3d inserts and collaborating with Sheltemke to get colors, sound effects and more just right before sharing with the original author and trying to get this one done up right before releasing to the public.
Mockups, artwork and ideas for potential future real & virtual builds
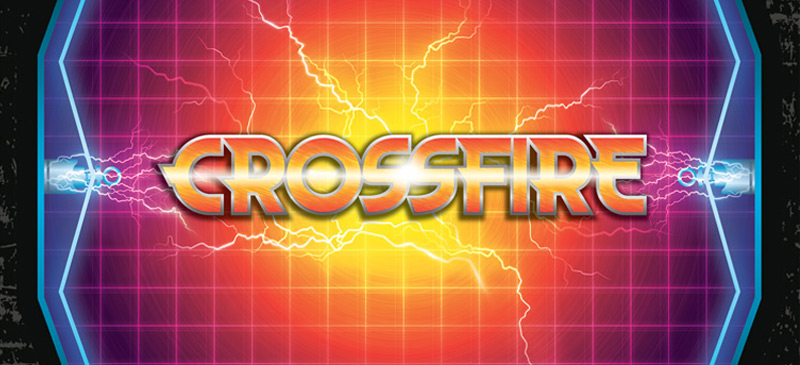
- Early stages mockup & commissioned vector pf artwork
Crossfire just feels like a really fun theme for a 2 player pinball-style game. This one may not follow a lot of typical pinball rules, but I am certain I want cabinet to match a simulatenous heads-up layout like Vizio's War or Joust. I think it could be amazing integrating the fast shooting center pipe like on the game Rapid Fire as well, but I do still like the idea of having the more traditional flippers integrated somewhere as well. I can't imagine a playfield or even the pinballs will last long in these machines from so much aggressive wear-and-tear, so sturdy glass and a few backup playfields might be necessary for this custom machine.
This one is still in early stages of development.
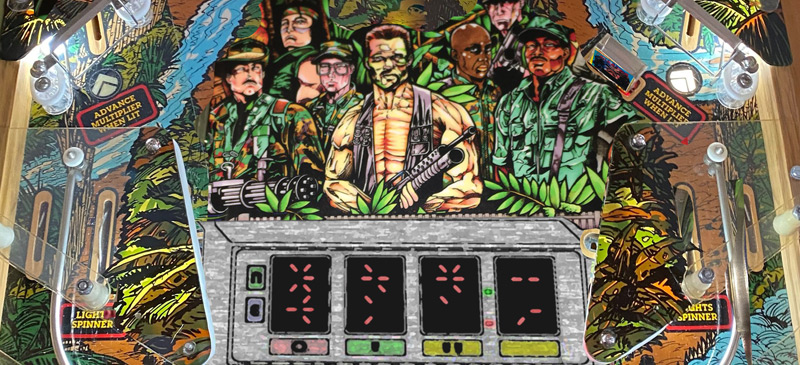
- Early stages mockup
As a product of the early 80's, action films staring the legendary macho dudes like Stallone and Schwarzenegger and their respective movies like Predator, Rambo, Rocky and Terminator all have a special place on my list of all-time favorites.
The Skit-B Predator project fell apart pretty hard from all the legal woes, but even if it hadn't and even if the layout, game code and shots were perfected and fine-tuned, I still had some qualms with the product. I respect that there was a gore factor in the movie that would justify the use on the pinball machine, but it seemed excessive in my opinion, so I thought a new less aggressive style could make for a nice mod project.
One component that I absolutely loved on Skit-B's table was the center artwork and have repurposed it here.
I thought it could be a fun and unique addition to integrate the Predator's wrist computer and associated cryptic lights as a way to communicate progress in the game (for example.. in the case of special forces... how many missles or bombs you have).
Still very early stages, not sure if this one will make it past concept, but fun to imagine none the less.
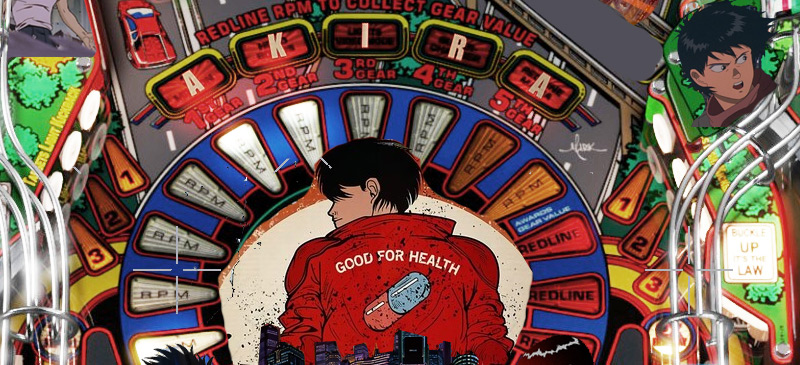
- Early stages mockup
High Speed II: The Getaway is one of my top 5 favorite games, so it might be a painful undertaking to use one as a donor table, but the layout, toys, inserts and even a lot of the base code seem so well suited for a really nicely-fitting Akira mod.
Idea 1: Add Kaneda's bike to the primary super charger toy. I would want to have the exact same fast looping effect as in Getaway, and 4 additional strings of closely packed individually addressable led's wrapped around the track could replicate the light trail effect used frequently in the anime.
The center gears are replaced with the name AKIRA and similar to the original game, progress builds up through to Redline Mania once spelled out.
The game in video mode matches very well once the cars are replaced with motorcycles.
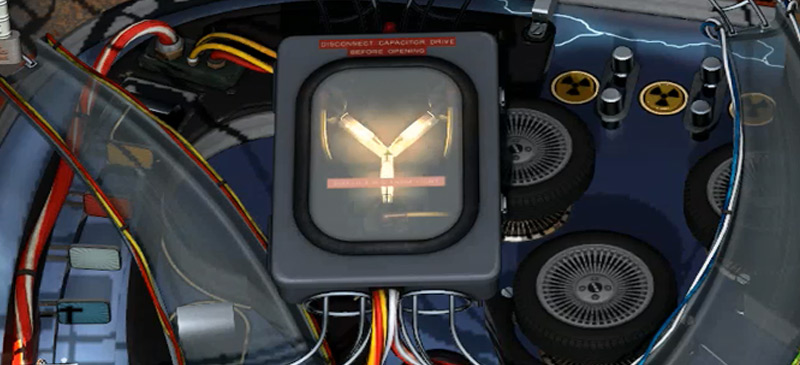
- Early stages mockup
My dream pin would be a well-designed Back to the Future theme, utilizing a DMD and based on the first movie only
It sounds like there is potential for something like this to become a reality in the near future according to some rumors churned up by Kapow & Stern, but I am keen on continuing development on my project just the same.
I am a HUGE fan of FX3's virtual original. Not so much for the gameplay or code, but the design. Even without using doc or marty's likeness, they managed to develop an absolutely beautiful table without too many unrealistic components. My mockup drops the width pretty considerably, removes any elements that wouldn't be possible in real life and sticks to the first movie's theme (that skateboard magna-lock near the top left flipper will get an update in the next version).
I don't like knocking games because everyone has different taste (heck.. I actually really like Street Figther 2 for what it is), but I just can't get over all the showstopping issues with Data East's model. The lazy approach to putting a completely different face on Marty when the MJ Fox rights didn't come to fruition, the even lazier sunglasses being added on the backglass... the skllshot train popping out of Marty's pants while he's in that Captain Morgan pose puts the suspect LOTR backglass beard to shame. The somewhat suggestive (and repeated!) positioning of Doc & Marty in a pose that seems like a very progressive couple taking their prom photos (even if it is similar to the promotional material for the movie). Combine that with a messy cluster f of unfocused artwork and mish-mash of all 3 movies and you've got a heartbreaking discredit to an epic theme. Whew.. I think I met my yearly cap for negativity just in this one post. I could actually go on, but I'll stop there, because much of what I'm saying is 100% absolutely subjective anyhow.
I have no idea if anyone else thinks that the FX3 design (and my trimmed down mockup from it) is just as bad or worse, but I love it. The Flux Capacitor would act as a ball lock, diverter and fun toy for kicking off multiball. The skateboard would be a short magna-lock that allows for crackshot timing with the top left flipper (feeding a hard angled right ramp) and/or a ball save similar to the satellite on Goldeneye. Even without the dream theme, I think this layout and the mechs would be so fun to play.

